Tech & Toys
-
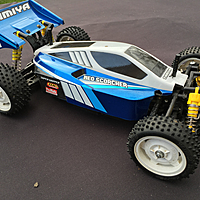
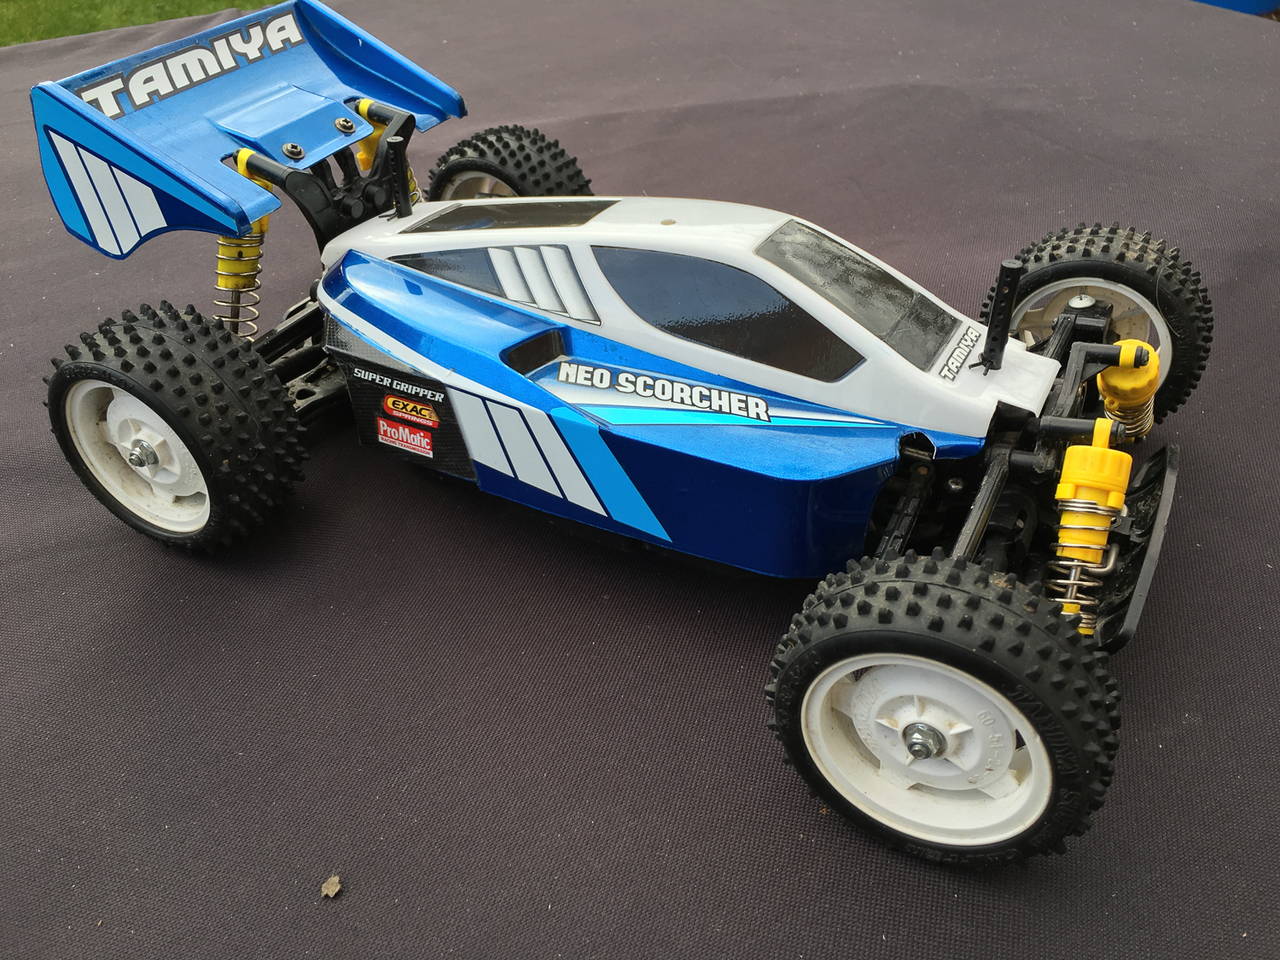
Tamiya Neo Scorcher
Since my last update we have bought a new car, sold it and bought a newer one. I thought I’d bung a page up for the little Neo Scorcher despite it now having been sold, just for reference. It was a fun little car but we kept finding it getting stuck in relatively small obstacles, so we moved onto a brushless, LiPo powered monster - the HKing Desert Fox. Anyway, the page for the Neo Scorcher is here.
-
Been a bit quiet lately
So I’ve neglected the blog a little bit recently, which is a reflection of how manic my family and work life has been. I’ve still been slowly making the odd model, just not having time to blog about the builds.
For various reasons I’ve recently been in hospital, and the Consultant has signed me off work for 2 months. As a result I’ve decided to finish a bunch of un-finished or not yet started projects in the shed, and to try and update the blog a little.
p.s. Health wise I’m fine now, just enjoying a (hopefully) relaxing recovery!
-
First build with the lad
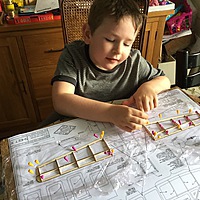
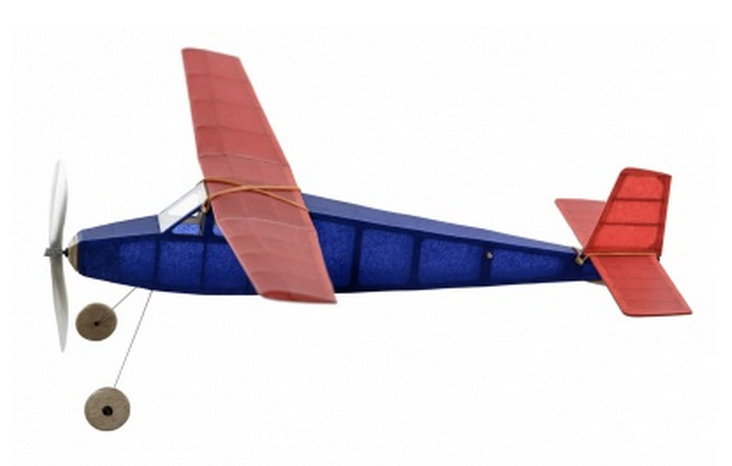
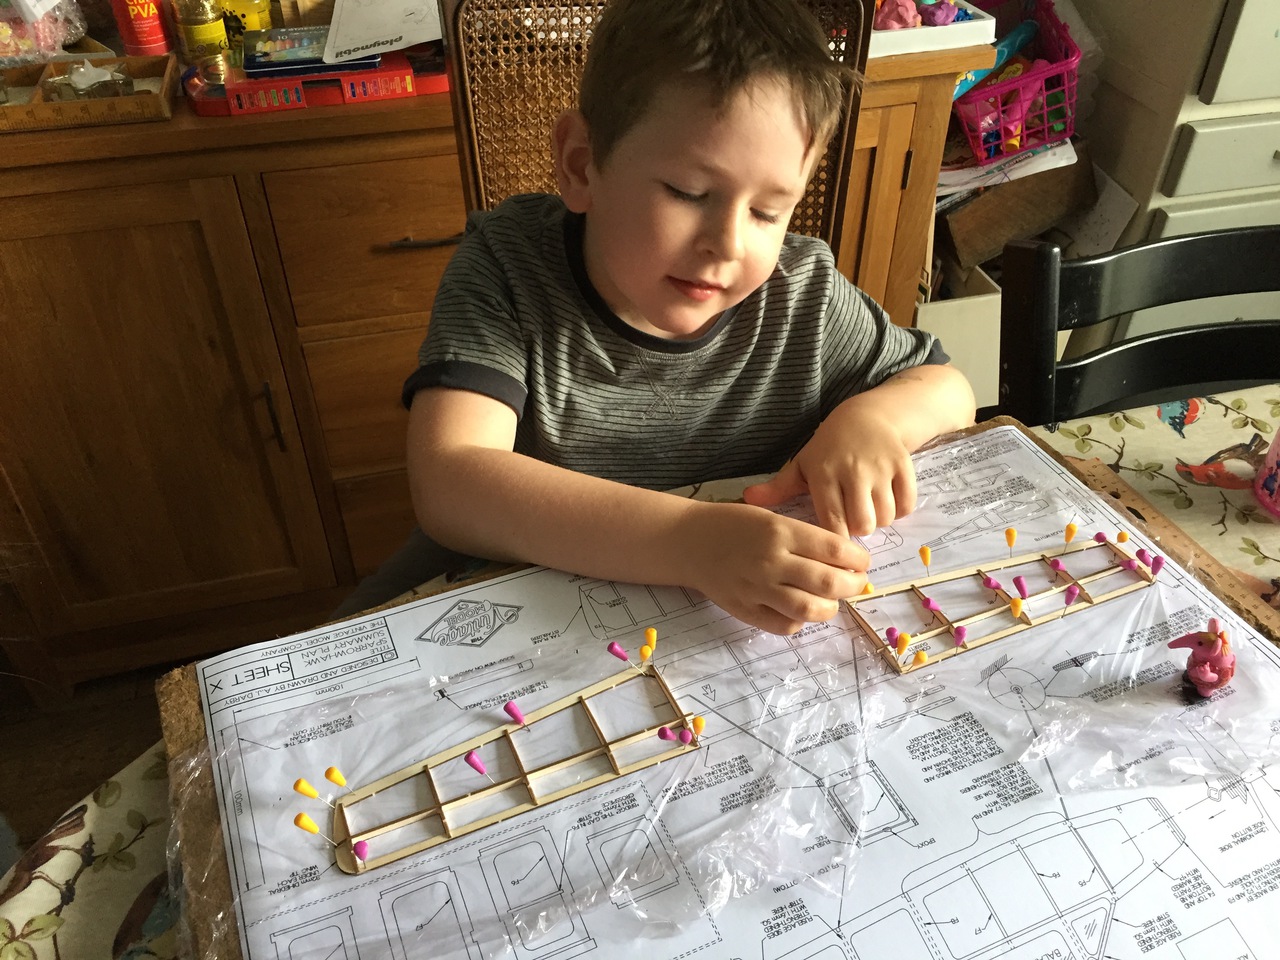
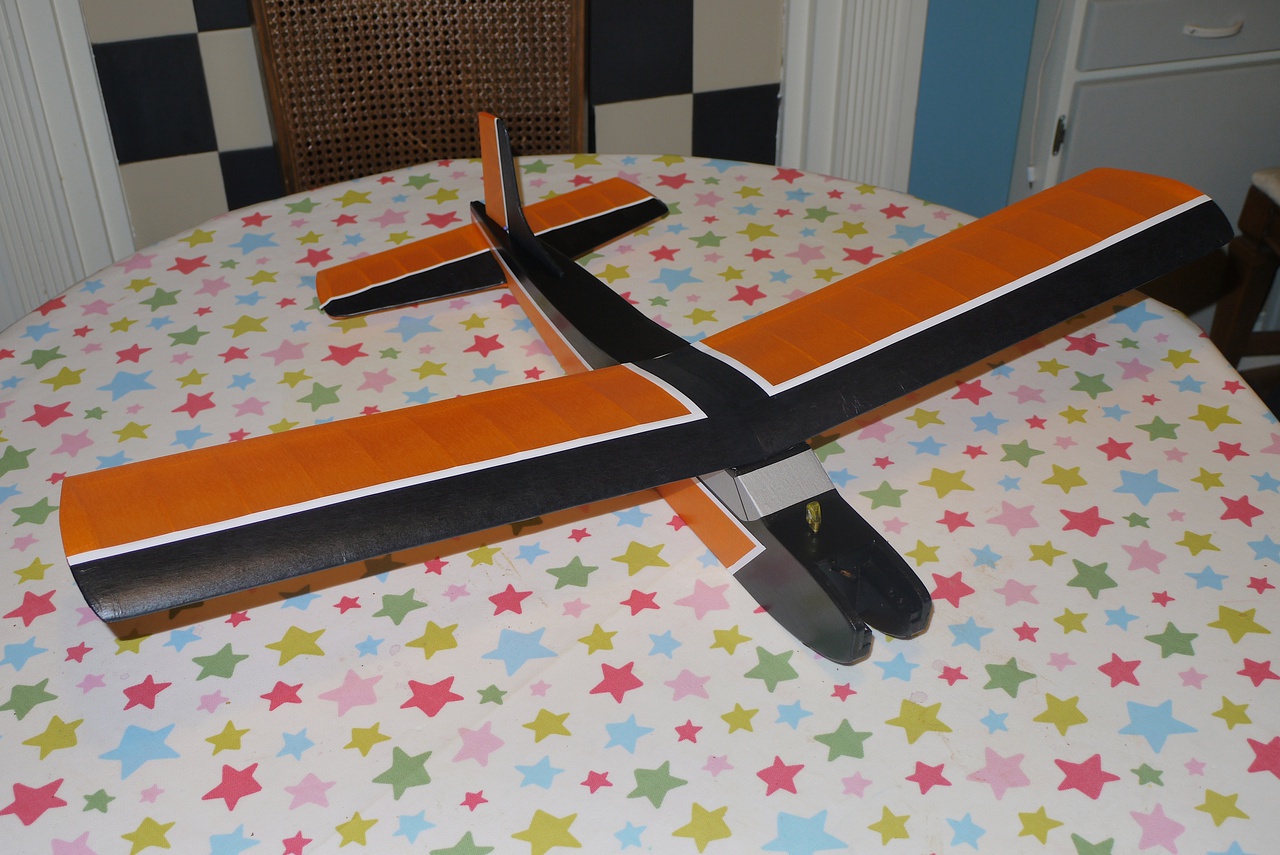
The lad has a few of my old rubber models hung in his room, currently sporting the Red Wing, Tomtit and Beaver as ceiling decoration. Recently he seems (like most kids his age I think) to be quite into Minions, and asked if we could paint the Red Wing blue and yellow. I explained that much paint wouldn’t really help fly well - we still occasionally fly it. But I asked if he would like to build a model with me, learning how it is built and covered and then we could cover it in blue and yellow tissue to match the damn Minions! He seemed really excited by this idea, so a plan was formed. I just needed a likely candidate. Quite by chance I was flicking through the pages of this months Aeromodeller when I saw a review of one of the Vintage Model Companys range of 8 Magnificent flying machines. This one in particular was the Sparrowhawk, so I ordered one and this week we started the build. Below you can see the little man with the almost completed wings. Much fun is being had, even if he is a little heavy handed with the glue! Nothing that a bit of careful wiping can’t solve though!
Gallery
-
WLMAC Scale Day 2015
My club holds a friendly scale competition once a year. The gallery below shows a few shots I took while at this years event, I didn’t take part this year but was happy to stand around chatting and taking some pics. It was very nice to meet Richard Crapp and Mick Reeves, who both turned up with a couple of BMFA scale judges to talk about the competition side of the hobby. Overall a very enjoyable day.
-
Engine list
I’ve recently completed a move to electric for my entire fleet so I thought it was appropriate to tidy up the IC engine pages because they won’t be seeing much of an update in the future. You can see the full list, with links to details about each engine here.
-
New Shed
I’m a bit behind in updating the blog, but I thought it was about time to have a bit of a spree. Last spring I took the sledge hammer to the old shed which we inherited when we bought this house.
There is a very useful (maybe 12’ wide) path down the side of the house, between us and the neighbours where the previous owner had a couple of sheds. One of these looked very recent and in good condition, the other looked, well somewhat worse for wear. I had hoped it would last a season or two, but after a couple of weeks of rain everything inside was either sodden or mouldy, so a plan was hatched to replace it come spring.
As luck would have it just before the new shed was due to arrive I had a guy come to replace the rear fence, he was happy to remove all the bits of the shed with the old fence, which left me a nice clear space.
I bought a 10x5 Pent shed which is the biggest which would fit, managing to find one with doors in the long side, which meant I could use all the space available to me. A bit of wiring and a new bench later and it was starting to look like a proper shed. This online guide suggested how to make a handy model rack, so I followed their guidance and a good chunk of the fleet are now happily hanging up. I was going to build a bench, but the one in the picture on the right was a kit on ebay for 30 quid, which I thought was reasonable, so that made a welcome addition.
-
Couple of new Lego sets
[]({{ “/uploads/2015/03/42028_Webfiles_SECIMG2.jpg” | prepend: site.baseurl }})Over the few months a couple of new Lego sets have come into the house. First the latest Lego Ideas set; the Birds, these are amazing creations, looking more like ornaments than Lego. We’ve built only two so far, only the Robin remains to be built.
Next up is the Lego Technic Bulldozer, I’ve always had a soft spot for the Technic building range and this was a nice edition. It is proving to be robust enough for the kids to play with constantly without bits falling off, so we all win 🙂
-
Updates
I’ve hauled the S-Pou out of the loft and intend to start flying it again at our clubs indoor evenings. Hence I’ve moved its page out of Historic and into the RC Aircraft section and updated it accordingly.
I’ve also added the following new kits to the Lego page:
- 21108 - Ghostbusters Ecto-1
- 21109 - Exo Suit (Broken link
http://shop.lego.com/en-GB/Exo-Suit-21109) - 21301 - Birds
- 10242 - MINI Cooper
Hopefully I’ll update the blog more often in 2015, I’ve written quite a lot of code recently, and done some cool things with my Raspberry Pi. I must also try and write up the renovation of the Sea Rover!
-
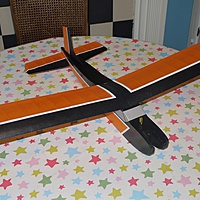
Mini Tyro electric conversion
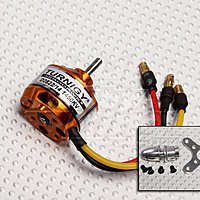
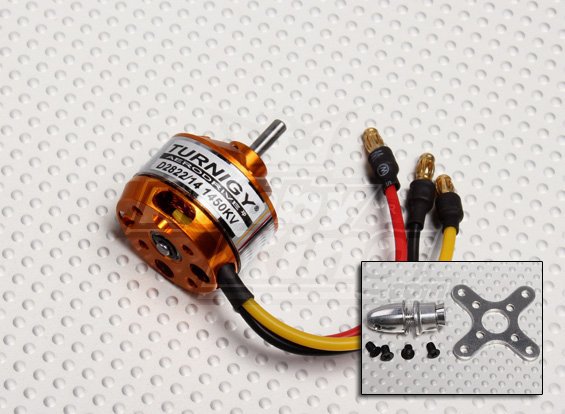
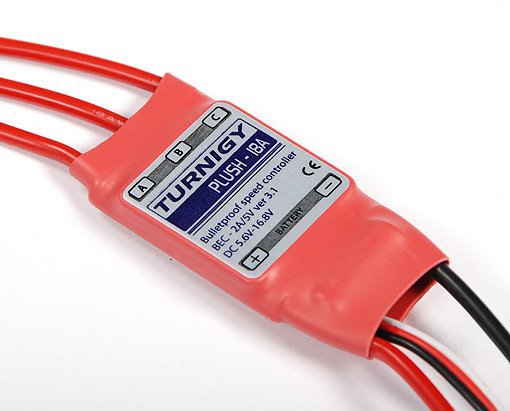
So I’ve made some progress on my electrification of the Mini Tyro. After a bit of maths and some guess work I ordered a D2822/14 1450kv outrunner and a Turnigy 18A Plush. The plan is to try a APC 8x4 and a 7x45 prop on it to see what power it draws.
I made a start by removing the Mills from its mount and cutting a hatch into the wood above the tank. Then the tank was removed and the tank bay floor cut away. The next step was to remove the old firewall because it was too far back to mount the motor on, I could have used standoffs but that would have left a rather small bay behind it for the battery. A new firewall was cut and installed about 3/4" further forward than the old one. This gives a sensible clearance between the front of the fuselage sides and the rear of the prop but also has some room for adjusting the right/down thrust
As it happens the battery needs to live under the wing, but the space previously occupied by the tank is a perfect home for the ESC, with the Receiver living just behind it, slightly in front of the wing.
The battery has quite a lot of room to move around under the wing so it will need some sort of restraint, some velcro is likely. The front end needs tidying somewhat, the covering is looking tatty and I’ve yet to make a cover for the tank, now ESC bay.
Having said that, I’ve weighed it and run it up and all seems fine.
Weights
Complete airframe minus battery is 259g
The 3S 500mAh battery is 47g
The 3S 850 mAh battery is 67g
Power
Using a 3s and the 7x4.5 prop it pulled 5.9A / 57W WOT. Giving roughly 79.3 W/lb which is probably about right for the little Tyro. I expect the 8x4 might give a good bit more and maybe even too much. We’ll see!
I’ve yet to test the 8x4 because it needs reaming out to fit the prop adapter.
I’ll post some pictures when its finished, although the temptation to fly it as it is now is quite large!
-
Polecat
[]({{ “/uploads/2014/07/PKZU1480-1-ultra-micro-pole-cat-bnf.jpg” | prepend: site.baseurl }})I bought this model just before we started packing to move house, so it never had many flights. I grabbed it mega cheap at Wings and Wheels thinking I would probably fly it a few times and then gut it for the electronics which would go into another of the excellent Stevens Aero kits. However life got in the way, and then we moved and now I have nowhere to fly indoors. So sadly it sits unused in the loft. I’ve yet to decide its fate! Although writing this I think maybe I ought to get it out and fly it in the field on the way to work on calm mornings 🙂 Until then, I’ve moved its page into the historic section.


