Tech & Toys
-
First build with the lad
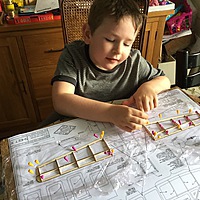
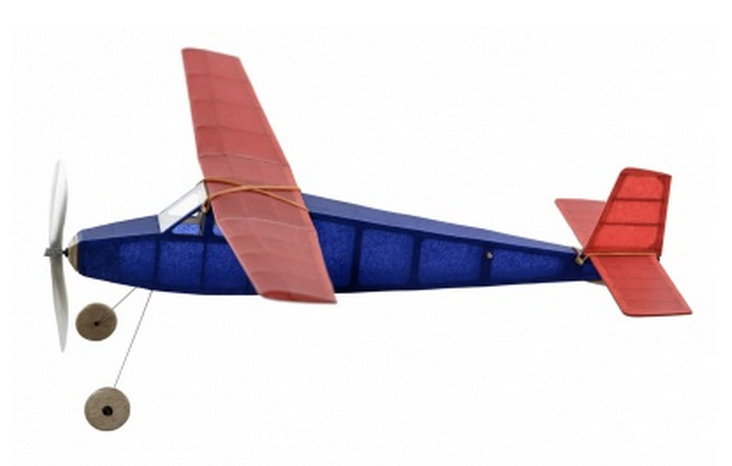
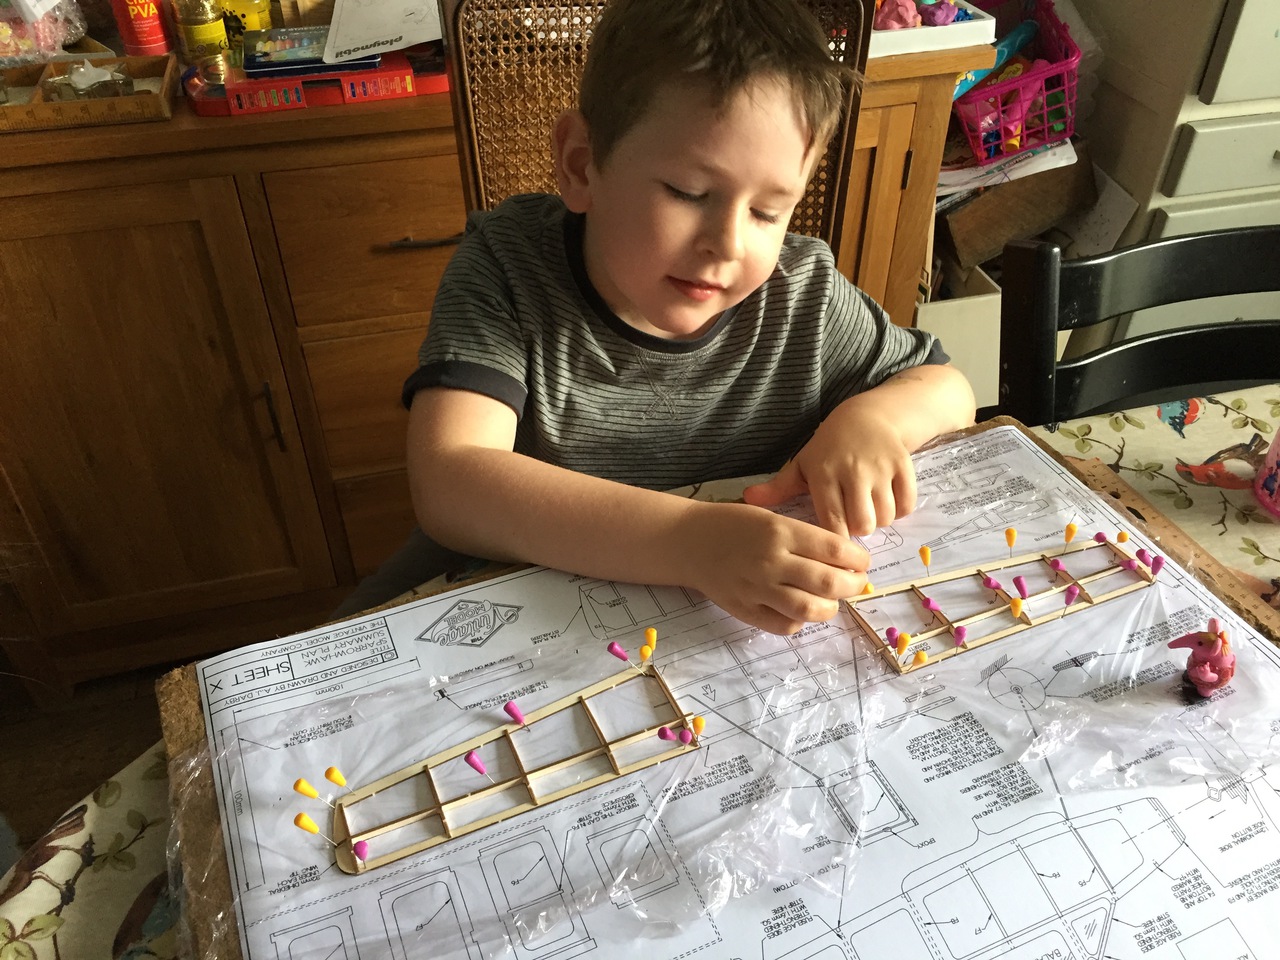
The lad has a few of my old rubber models hung in his room, currently sporting the Red Wing, Tomtit and Beaver as ceiling decoration. Recently he seems (like most kids his age I think) to be quite into Minions, and asked if we could paint the Red Wing blue and yellow. I explained that much paint wouldn’t really help fly well - we still occasionally fly it. But I asked if he would like to build a model with me, learning how it is built and covered and then we could cover it in blue and yellow tissue to match the damn Minions! He seemed really excited by this idea, so a plan was formed. I just needed a likely candidate. Quite by chance I was flicking through the pages of this months Aeromodeller when I saw a review of one of the Vintage Model Companys range of 8 Magnificent flying machines. This one in particular was the Sparrowhawk, so I ordered one and this week we started the build. Below you can see the little man with the almost completed wings. Much fun is being had, even if he is a little heavy handed with the glue! Nothing that a bit of careful wiping can’t solve though!
Gallery
-
Mossie in flight
It is rare that I get a shot of any of my models in flight, so when my father expressed an interest in seeing the Mosquitto in the air I suggested he brought along his camera. A couple of the shots are below, the rest on the Mossie page.
-
Fournier problems
The rear turtle deck of the Fournier and I never really got on. It is supplied as a vac-formed component which is trimmed to fit and glued over the formers and stringers. Initially I used the same Titebond which I have used for the rest of the build, however when I visited the shed the morning after I heard a disturbing crack when I handled the fuselage. Further investigation revealed the glue simply hadn’t stuck to the plastic and the entire deck fell off. Oh, lesson learned then, Titebond and plastic don’t mix.
For the next attempt I used Canopy glue which seemed to do the trick, the bond was good and even after a bit of prodding it refused to budge.
After construction was finished, I moved onto the covering, for this I’ve stuck to something familiar, which is basic Solarfilm. The wings were covered pretty quickly and focus turned to the fuselage, this is where the problems began. The first bit I tried was to tackle the turtle deck. The film went on easily enough, and as I left it in the shed I was quite pleased with the results. The problems came however the next morning when I popped into the shed to check on the results, to my horror literally hundreds of small bubbles had appeared all over the damn thing. I tried to remove these by turning up the iron and slowly working them out, at this point I managed to melt the turtle deck slightly such that it deformed. sigh!
I made a swift decision to give up with the vac formed component, and proceeded to remove it completely, using the removed deck (I managed to get it off in one piece) as a template I fashioned a new one from 1/64" ply. I soaked the ply and clamped it over the fuselage overnight to dry, the next day it held its shape well enough to be simply glued on with thin cyano. A bit of filler around the edges and its looking acceptable again. Below are a couple of pics, also showing the painted cockpit, waiting for a pilot.
-
Fournier build update
So after a few busy weeks (months?) at work and a couple of weekends away I’ve managed to push on with the Fournier. The principle construction is finished, after covering I’ve got to mount the servos and setup the control runs, but that is about it. A couple of pictures can be seen below. Onwards with the covering!
-
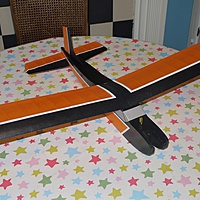
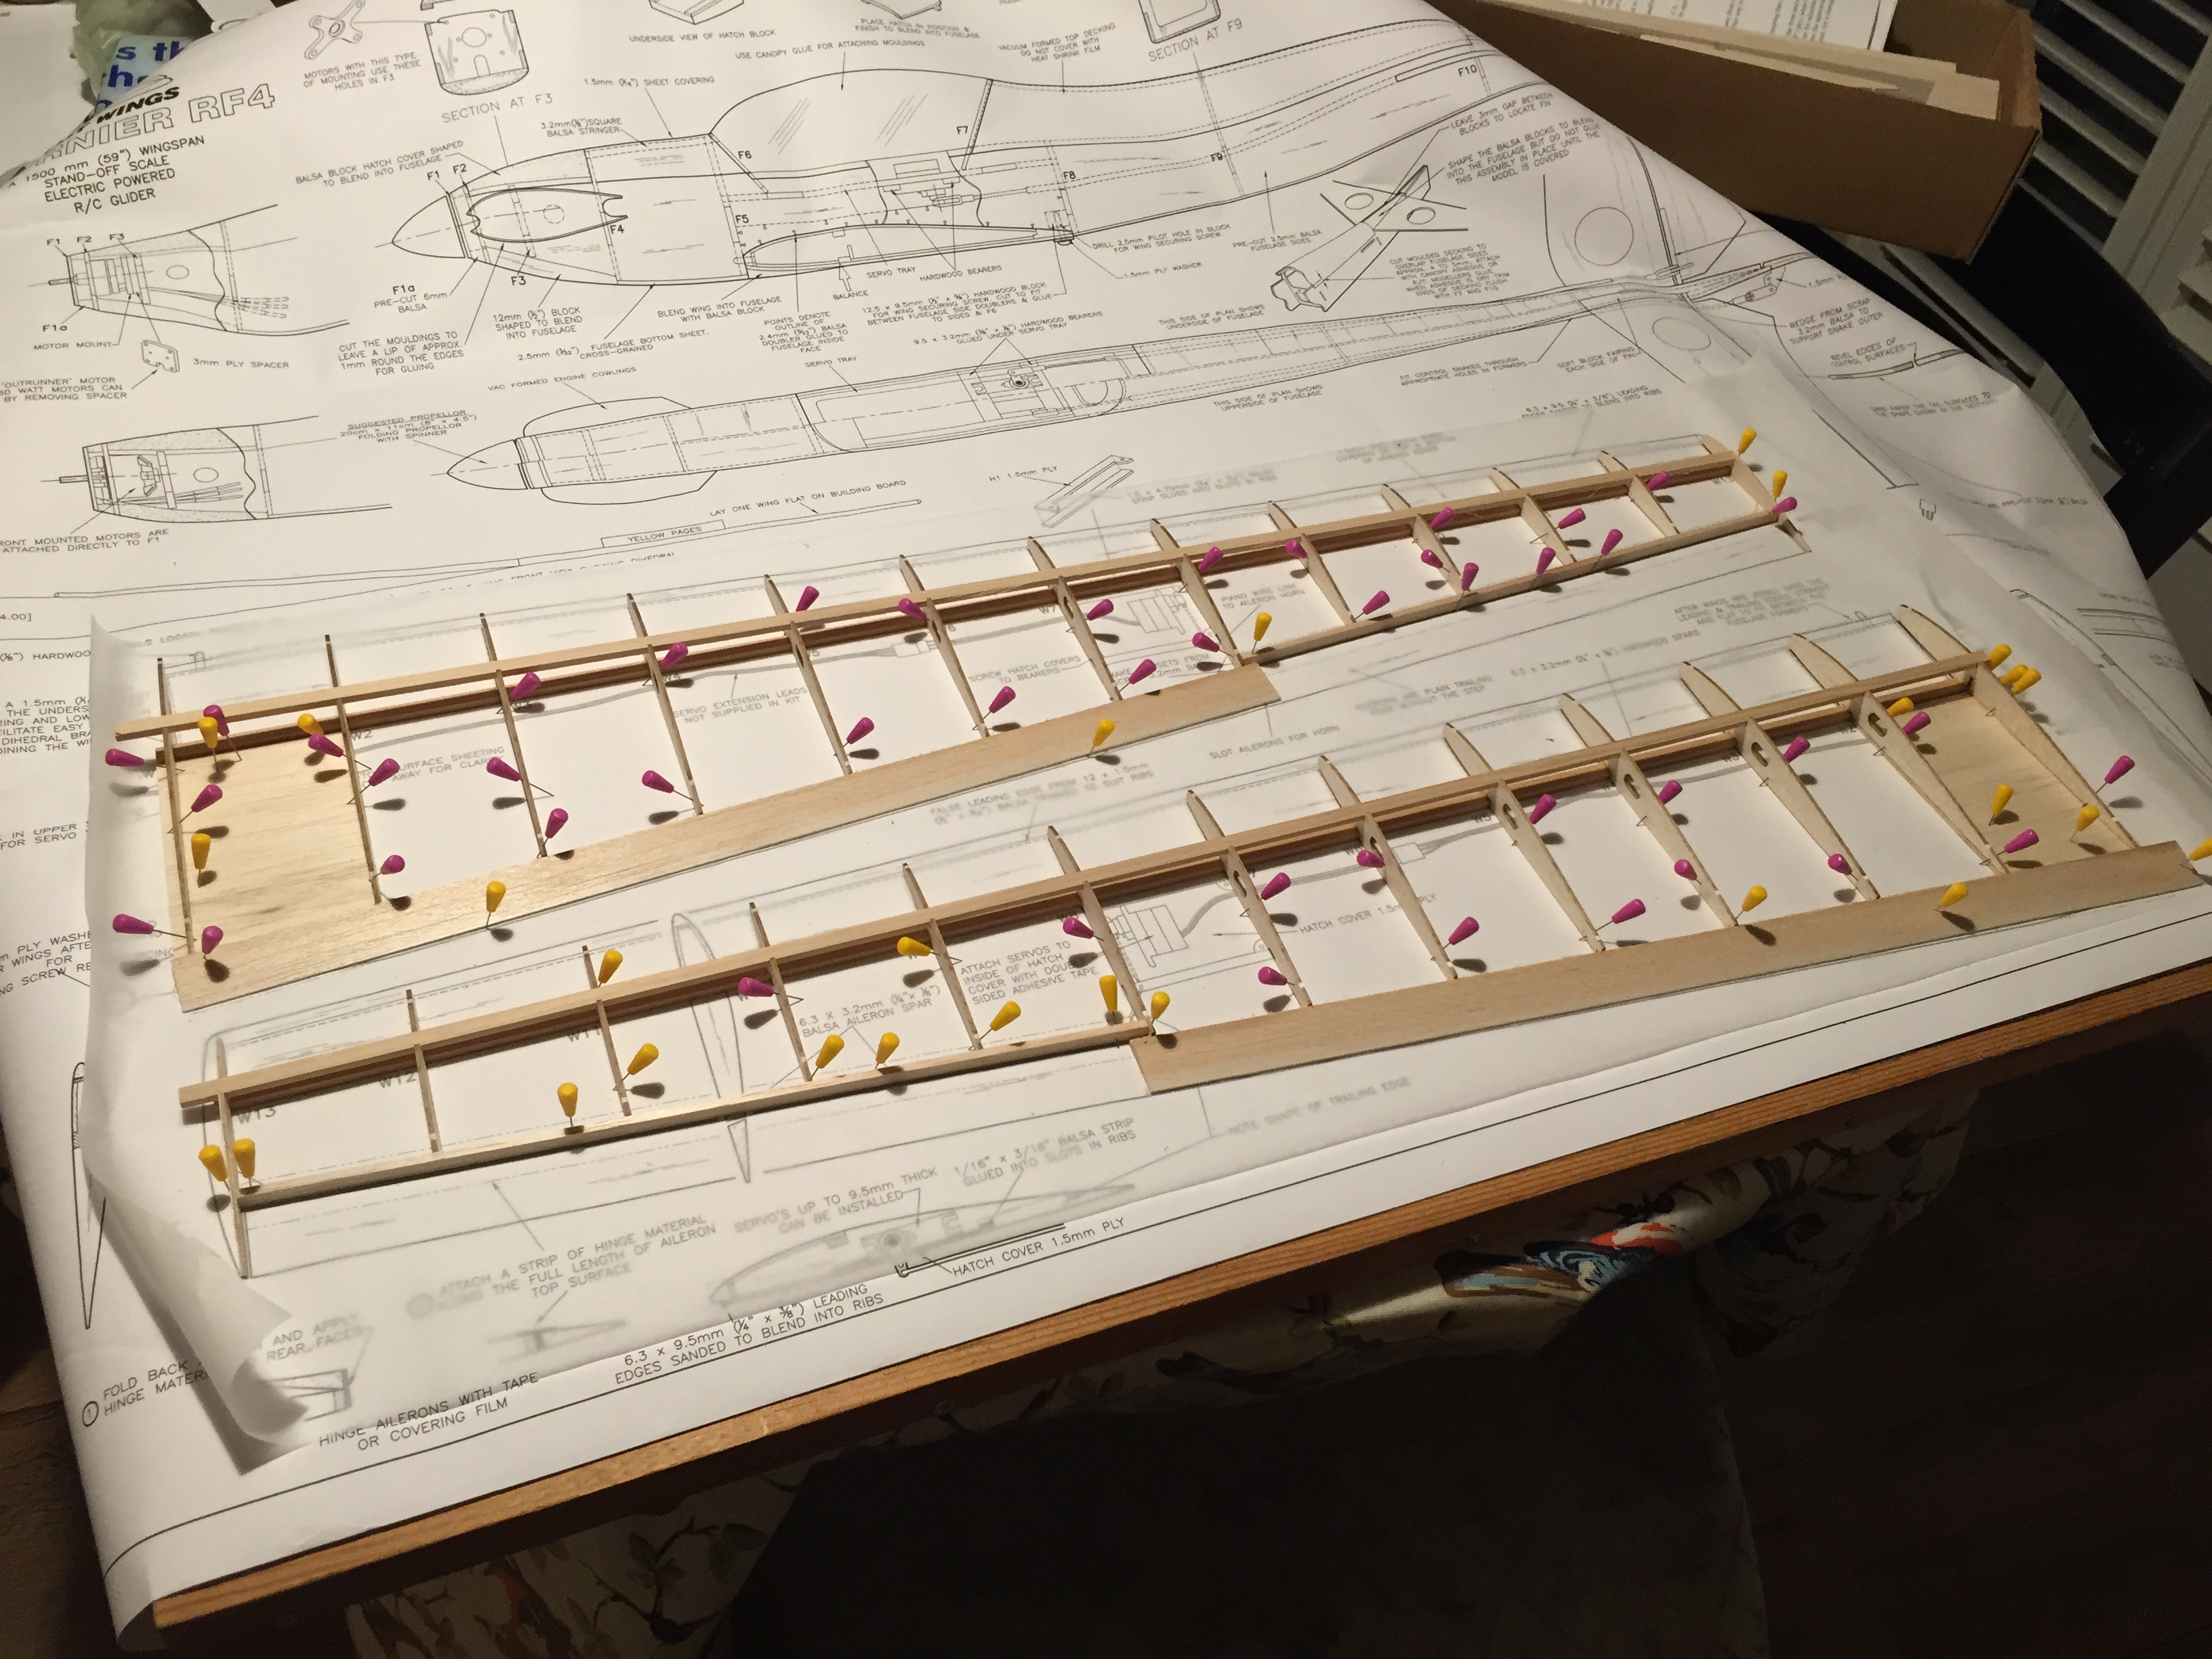
West Wings Fournier RF4
While assembling the wings of my Fournier this evening it dawned on me that I hadn’t taken a single picture of the construction, so I snapped this to right that wrong! The fuselage is all but finished, just the tail feathers and servos to go in and then a bit of carving. I’ll try and take a few pics of that when I return to it after the wings.
I’ve also created a page for it here.
-
May Fly at Old Warden 2015
The lad and I popped along to the ModelAir May Fly at Old Warden this past weekend and had a great time. We picked up a couple of new models, a bit of sun burn and the photos you can see below.
-
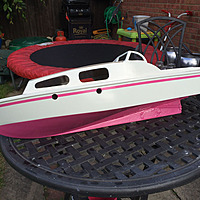
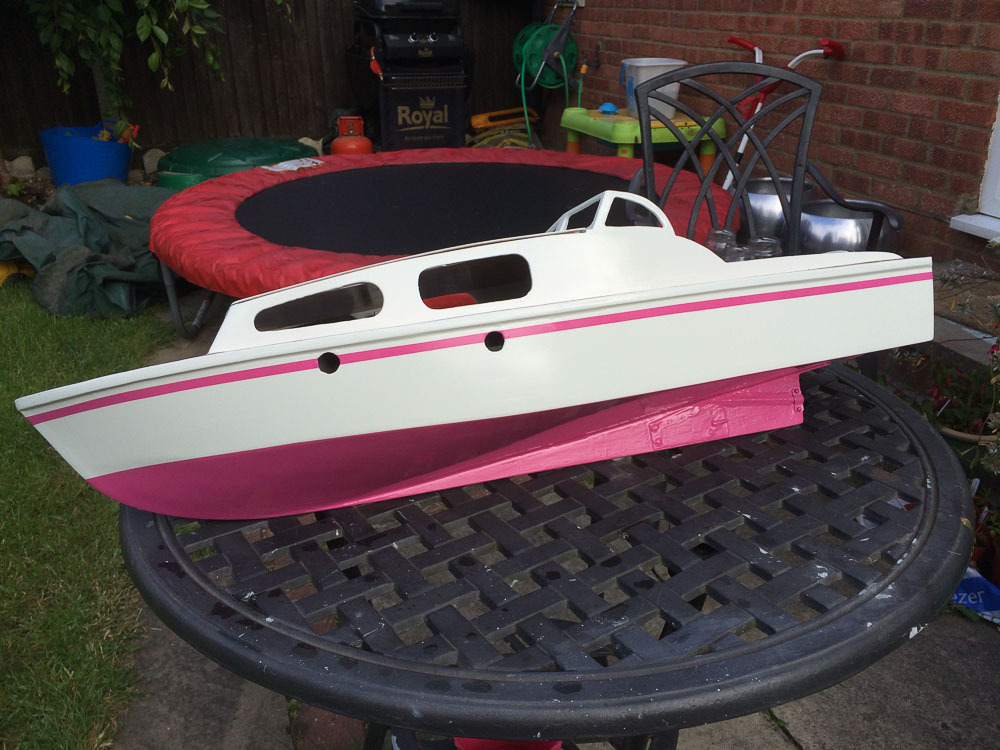
Sea Rover aka Nualas Boat
I’ve put a gallery of pics of the rebuild up on the Sea Rover page in preparation for writing up the work.
-
Updates
I’ve hauled the S-Pou out of the loft and intend to start flying it again at our clubs indoor evenings. Hence I’ve moved its page out of Historic and into the RC Aircraft section and updated it accordingly.
I’ve also added the following new kits to the Lego page:
- 21108 - Ghostbusters Ecto-1
- 21109 - Exo Suit (Broken link
http://shop.lego.com/en-GB/Exo-Suit-21109) - 21301 - Birds
- 10242 - MINI Cooper
Hopefully I’ll update the blog more often in 2015, I’ve written quite a lot of code recently, and done some cool things with my Raspberry Pi. I must also try and write up the renovation of the Sea Rover!
-
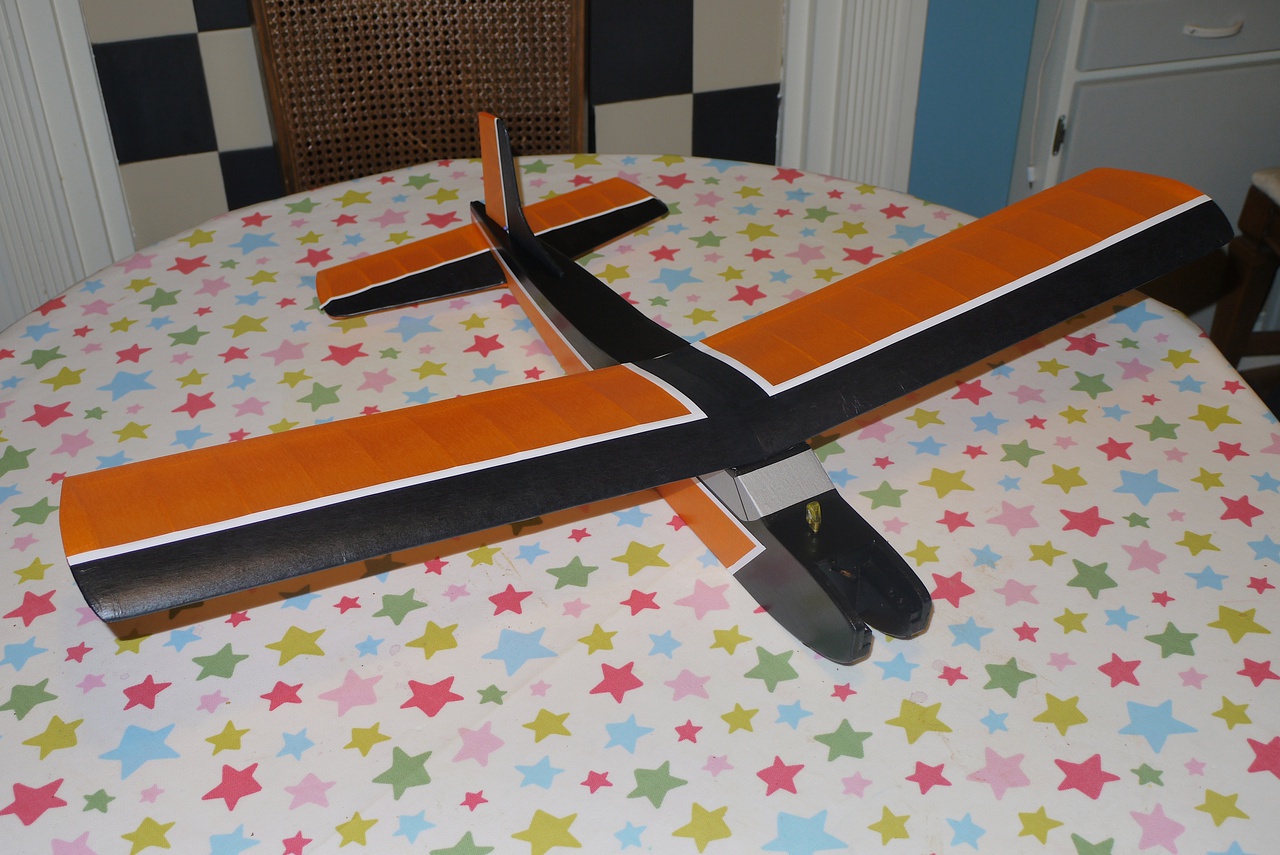
Mini Tyro electric conversion
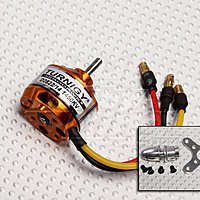
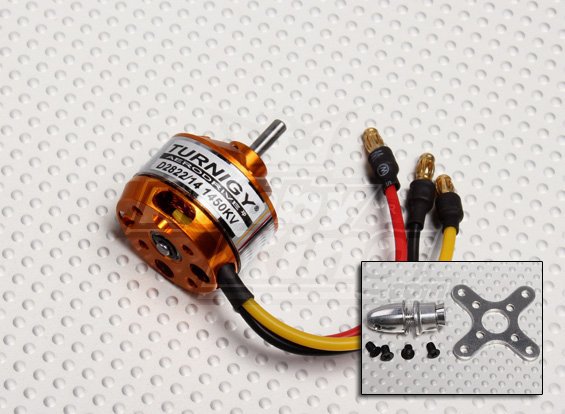
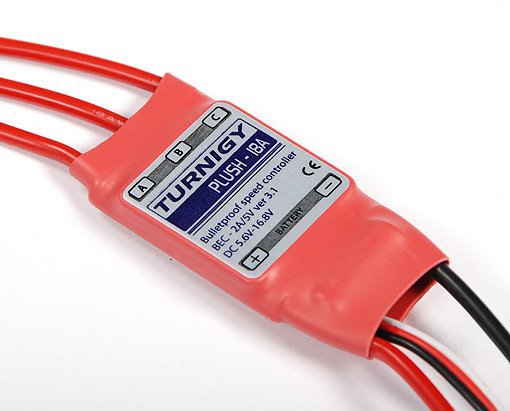
So I’ve made some progress on my electrification of the Mini Tyro. After a bit of maths and some guess work I ordered a D2822/14 1450kv outrunner and a Turnigy 18A Plush. The plan is to try a APC 8x4 and a 7x45 prop on it to see what power it draws.
I made a start by removing the Mills from its mount and cutting a hatch into the wood above the tank. Then the tank was removed and the tank bay floor cut away. The next step was to remove the old firewall because it was too far back to mount the motor on, I could have used standoffs but that would have left a rather small bay behind it for the battery. A new firewall was cut and installed about 3/4" further forward than the old one. This gives a sensible clearance between the front of the fuselage sides and the rear of the prop but also has some room for adjusting the right/down thrust
As it happens the battery needs to live under the wing, but the space previously occupied by the tank is a perfect home for the ESC, with the Receiver living just behind it, slightly in front of the wing.
The battery has quite a lot of room to move around under the wing so it will need some sort of restraint, some velcro is likely. The front end needs tidying somewhat, the covering is looking tatty and I’ve yet to make a cover for the tank, now ESC bay.
Having said that, I’ve weighed it and run it up and all seems fine.
Weights
Complete airframe minus battery is 259g
The 3S 500mAh battery is 47g
The 3S 850 mAh battery is 67g
Power
Using a 3s and the 7x4.5 prop it pulled 5.9A / 57W WOT. Giving roughly 79.3 W/lb which is probably about right for the little Tyro. I expect the 8x4 might give a good bit more and maybe even too much. We’ll see!
I’ve yet to test the 8x4 because it needs reaming out to fit the prop adapter.
I’ll post some pictures when its finished, although the temptation to fly it as it is now is quite large!
-
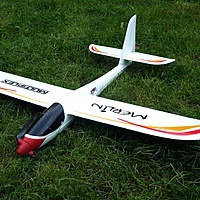
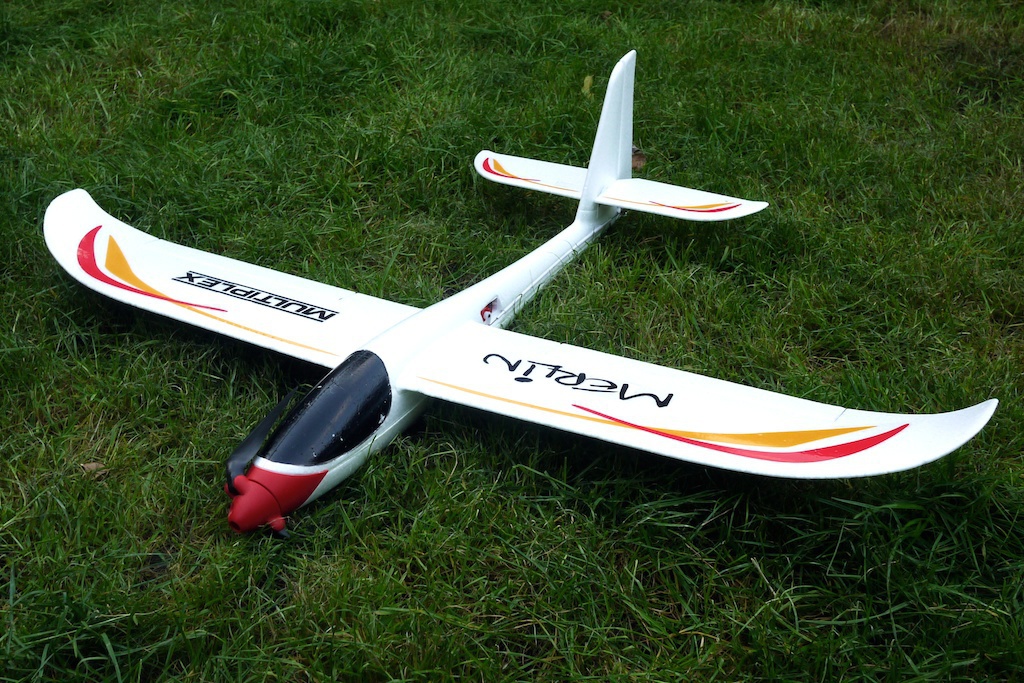
Multiplex Merlin
Better late than never! I’ve added some information to the Merlin page here. Which is slightly ironic given I am no longer flying it! But I felt I ought to add something as part of a general spring clean of the blog!


