Tech & Toys
-
Aerokit Sea Nymph build - part 4
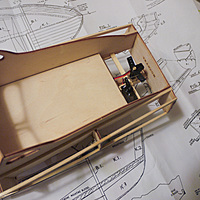
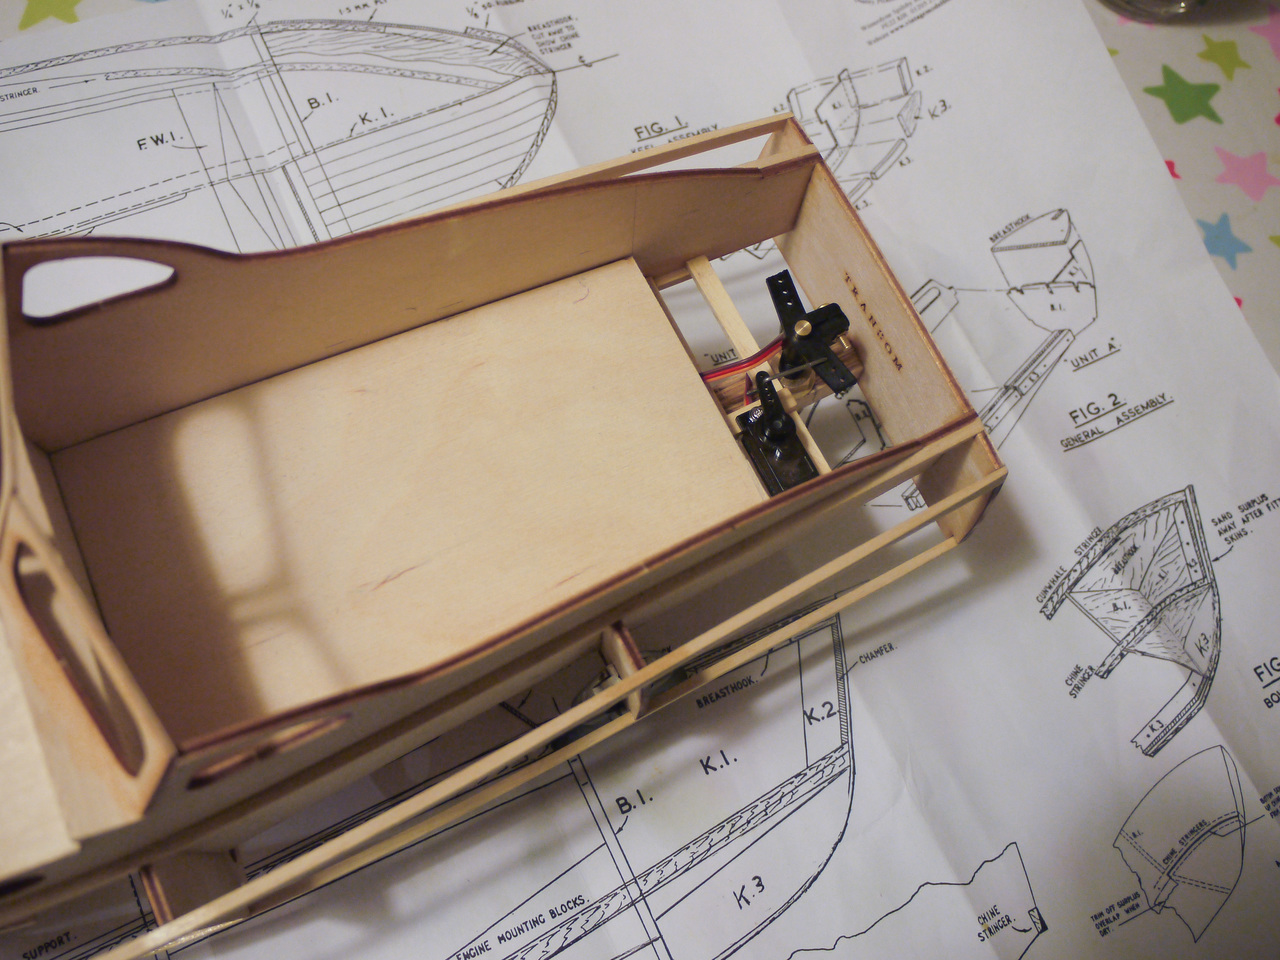
I had a bit of a think this afternoon, considering the options for the rudder servo. Initially I was going to try the closed-loop/pulley idea, but having had a root around in the spares box, found nothing suitable. So I plumped for the rudder at the back and some sort of seat to hide it option.
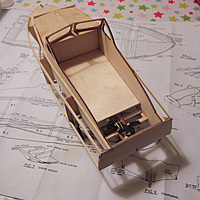
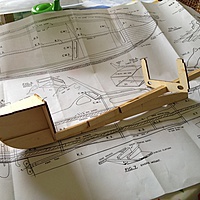
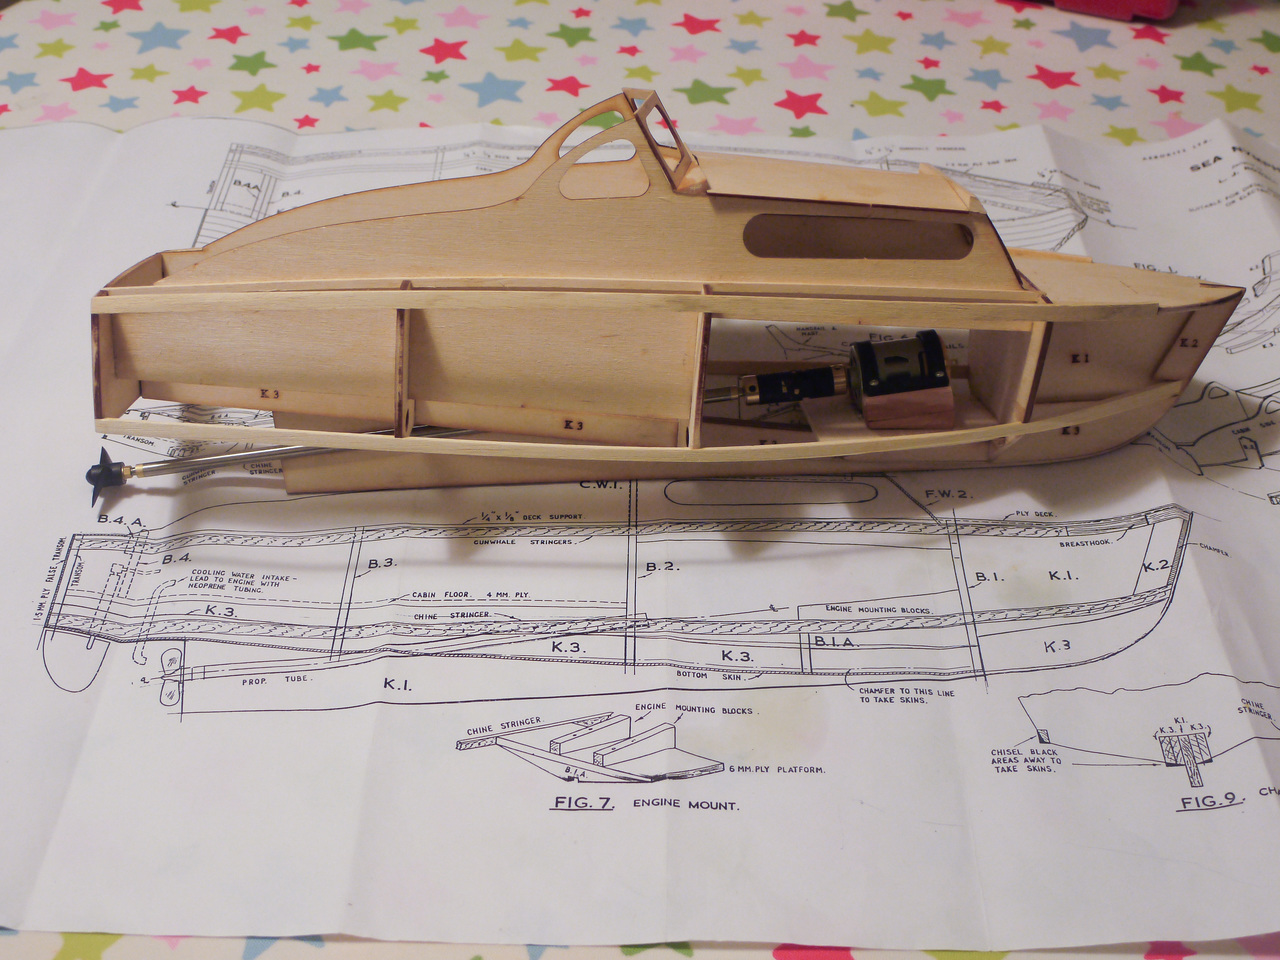
The rudder is in and the servo mounted on a couple of bearers, everything has been tested with the radio and seems fine.
The next thing was the power pack. I had pondered splitting a pack into two 3 cell packs, but decided against this because my son and I sometimes still put these packs back in the HotShot. I’ve come up with a solution though, having eased the middle former a little (about 1/4") it fits without having to raise the cabin floor that much. It probably would look better lower but I’m happy with how it has gone together. I’ve also put little bearers around the outside of the hatch for it to rest on. Of course I am hoping that cutting a chunk out of the middle of that former wont weaken the boat too much! My thinking is that this boat was designed for a 1-1.5cc diesel which would cause a load more vibration and stress than my little leccy motor.
You can read through all the posts about the Sea Nymph build here.
-
Aerokit Sea Nymph build - part 3
I have managed to visit the local model shop where I bought a nice propshaft, prop, motor mount, UJ and a little ESC. The ESC is NiMH only, partly because I wanted to make use of some old NiMH cells, rather than my aircraft LiPos and partly because the model shop had nothing else in and I didnt fancy going elsewhere. So at some point in the future I’ll have to face up to getting a buggy pack in there. One thought I had was to split it into mini packs, but still wired the same way. Not thought much about that yet but it is a possibility.
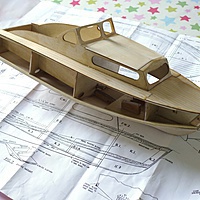
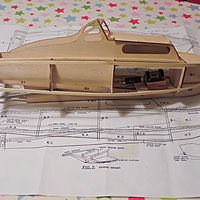
As for tonights progress, I’ve all but completed the upper cabin area and the hatch. Everything needs shaping but it is all together. The one pain is there gap between the two upper windows, they were too short and I had no ply in, so I’ve left a gap and cut a wedge shape out of offcuts to fit in the gap, I’ll get that in tomorrow.
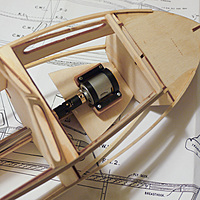
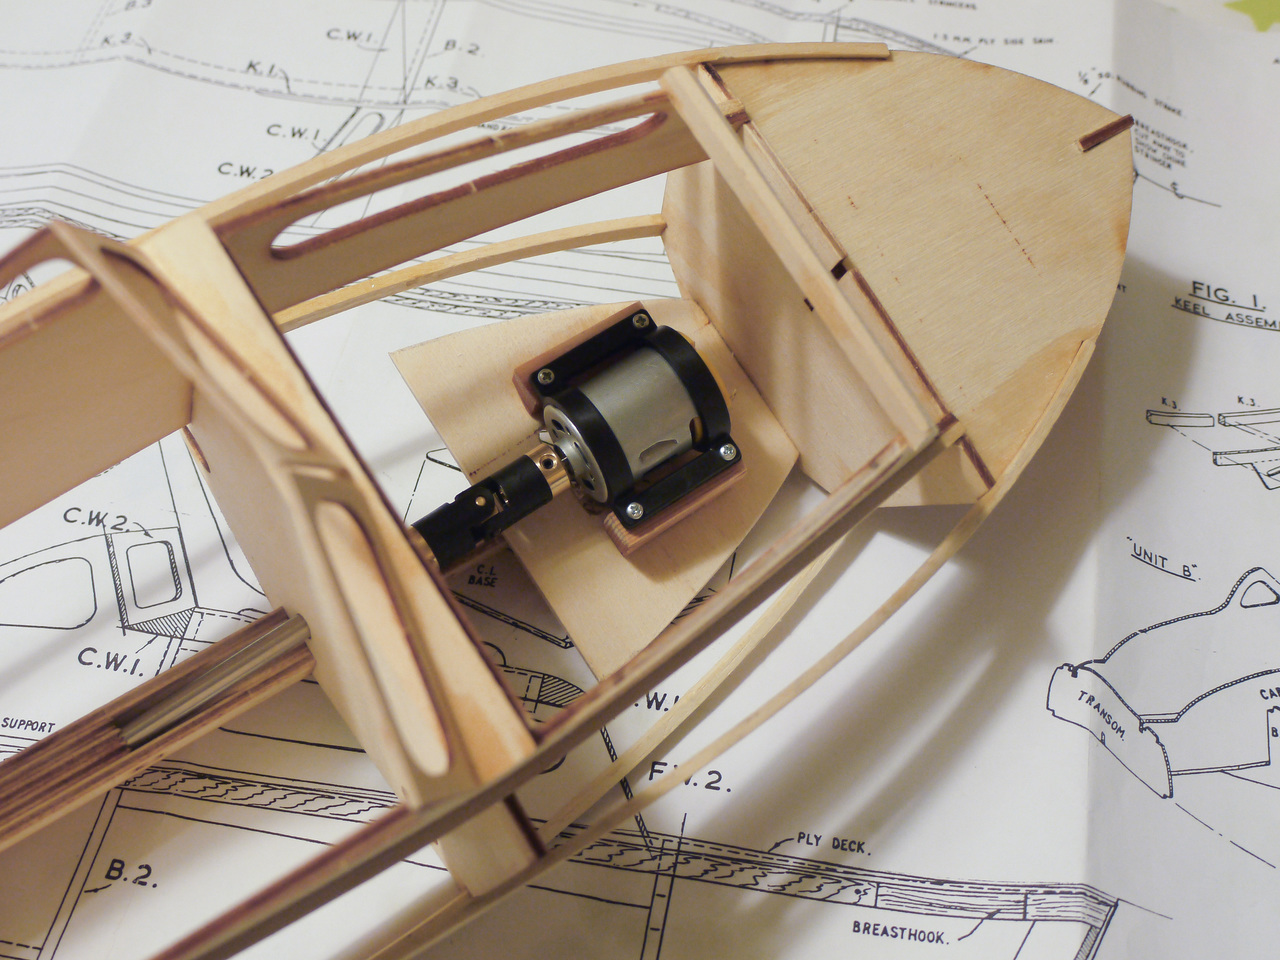
The biggest progress is the motor is now mounted. I had to lower the mount plate, cut some wedge shaped bearers and still had to shave a bit out of the plate because the motor was still sitting too low. It all feels solid though and the motor is a straight run to the prop shaft so I’m happy. The propshaft is still too long, I’ll get to that tomorrow.
So now I can’t avoid attending to the rudder. Gulp!
Last shot for tonight.
You can read through all the posts about the Sea Nymph build here.
-
Aerokit Sea Nymph build - part 2
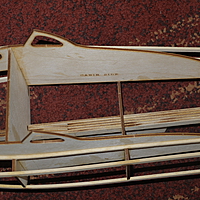
Progress started off pretty quick, the laser cutting is very nice and before long you end up with the basic structure assembled.
I’ve only taken the odd picture while going along, but you’ll get the idea.
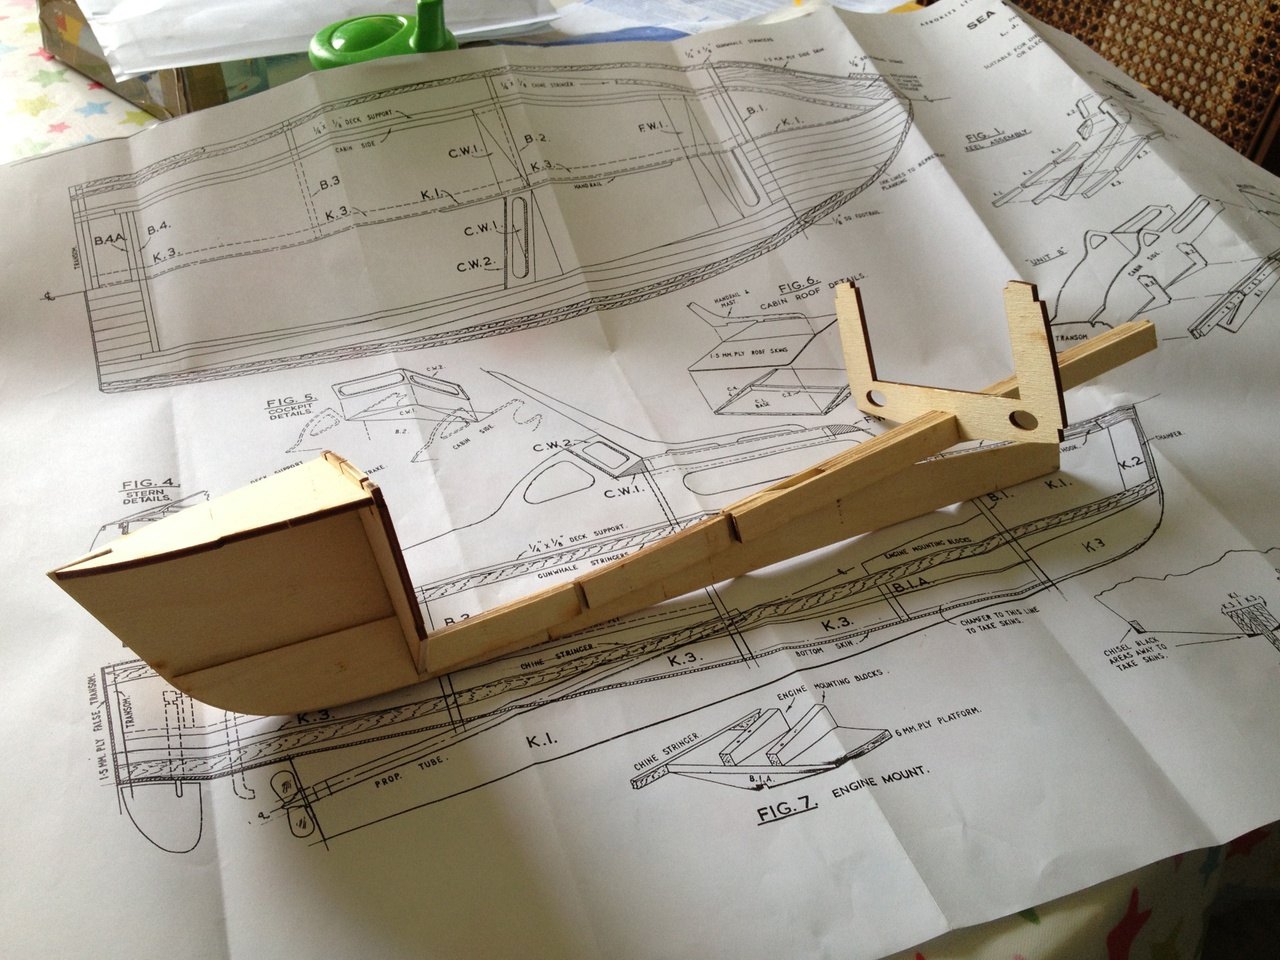
First up is the keel, you can see the front and rear formers have been attached in this shot, as has the breasthook.
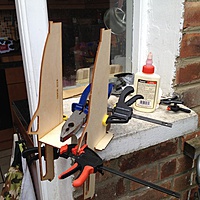
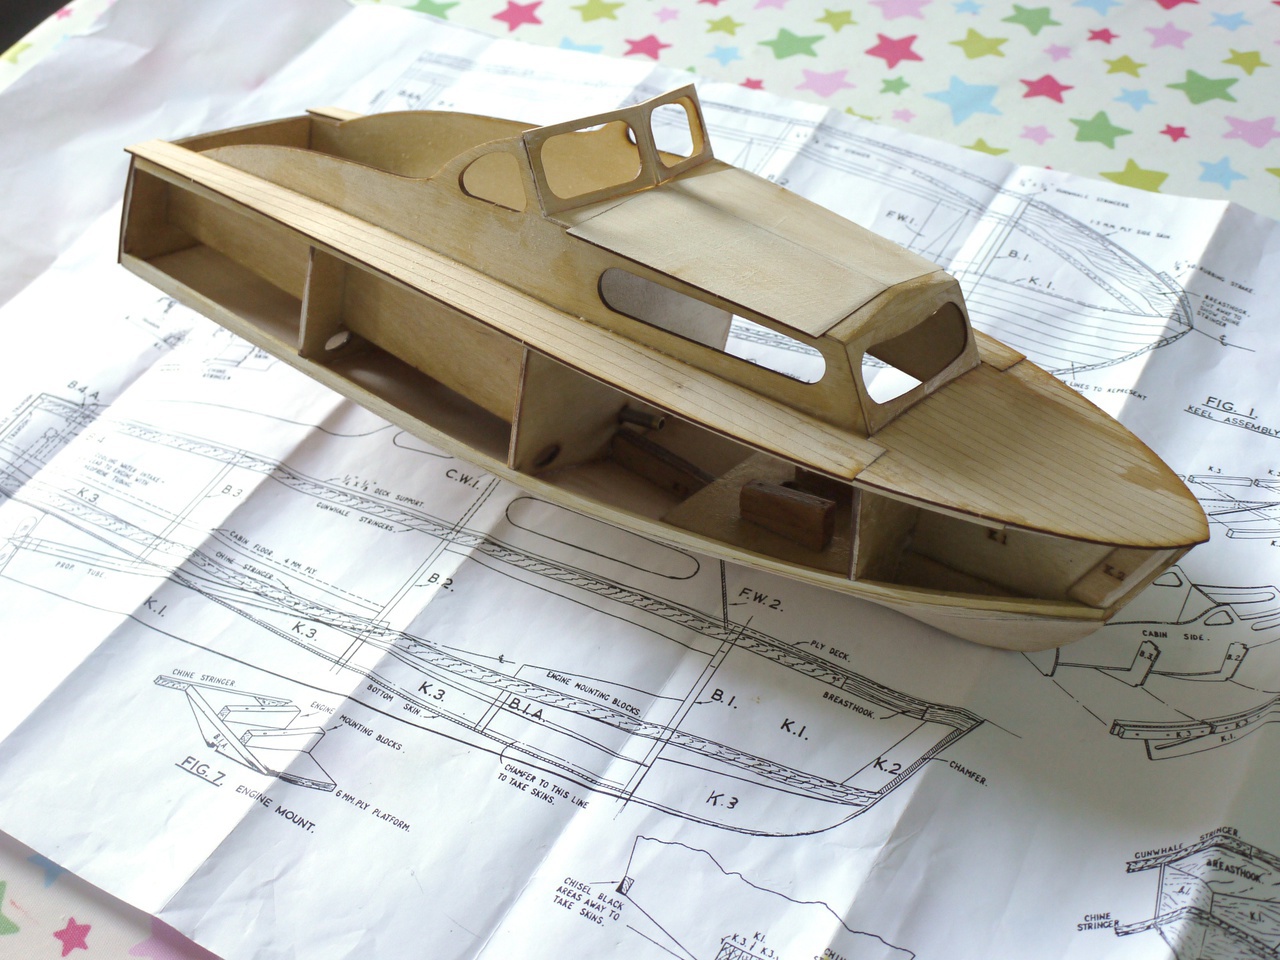
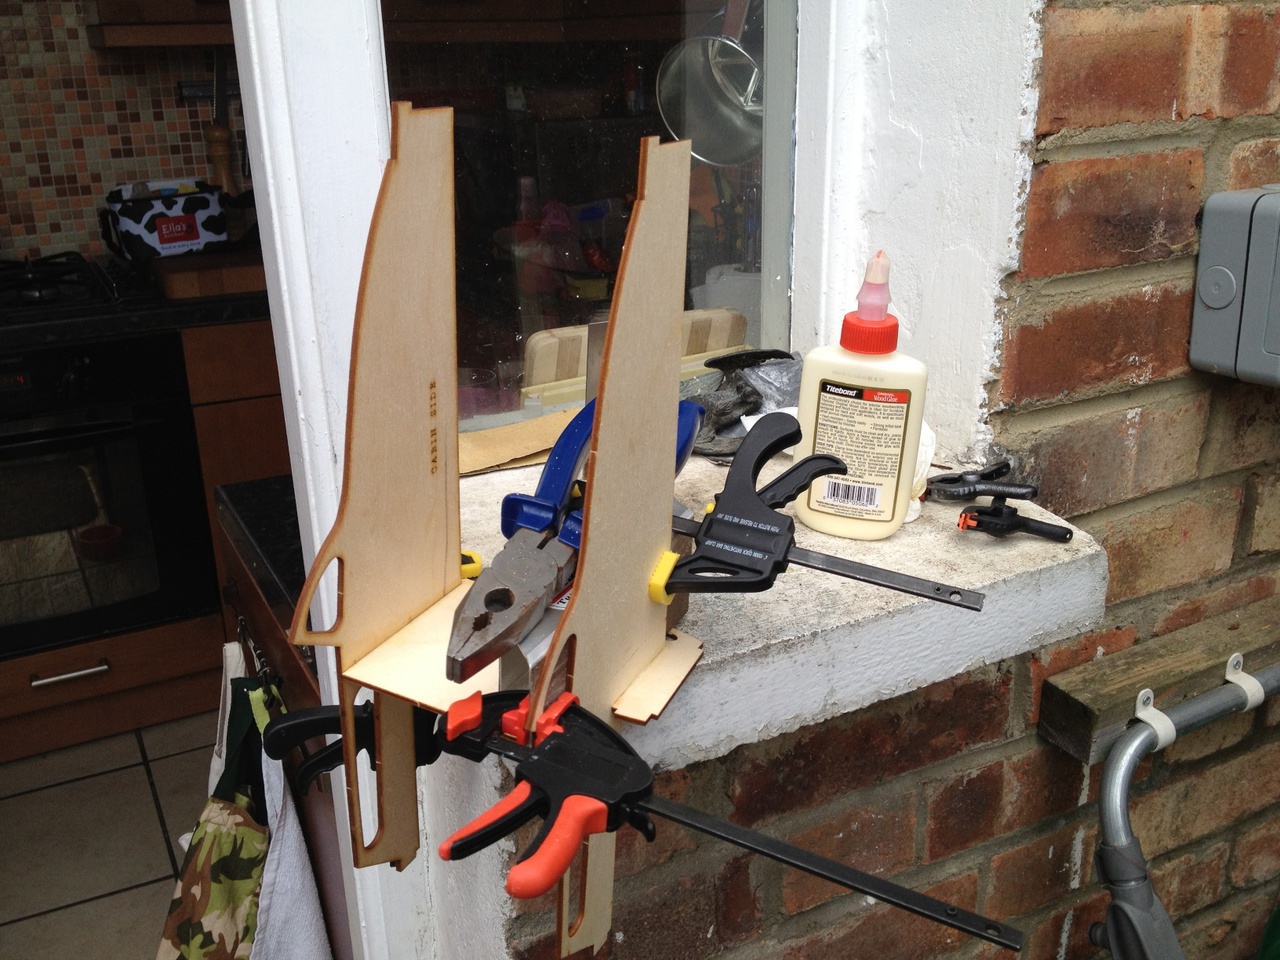
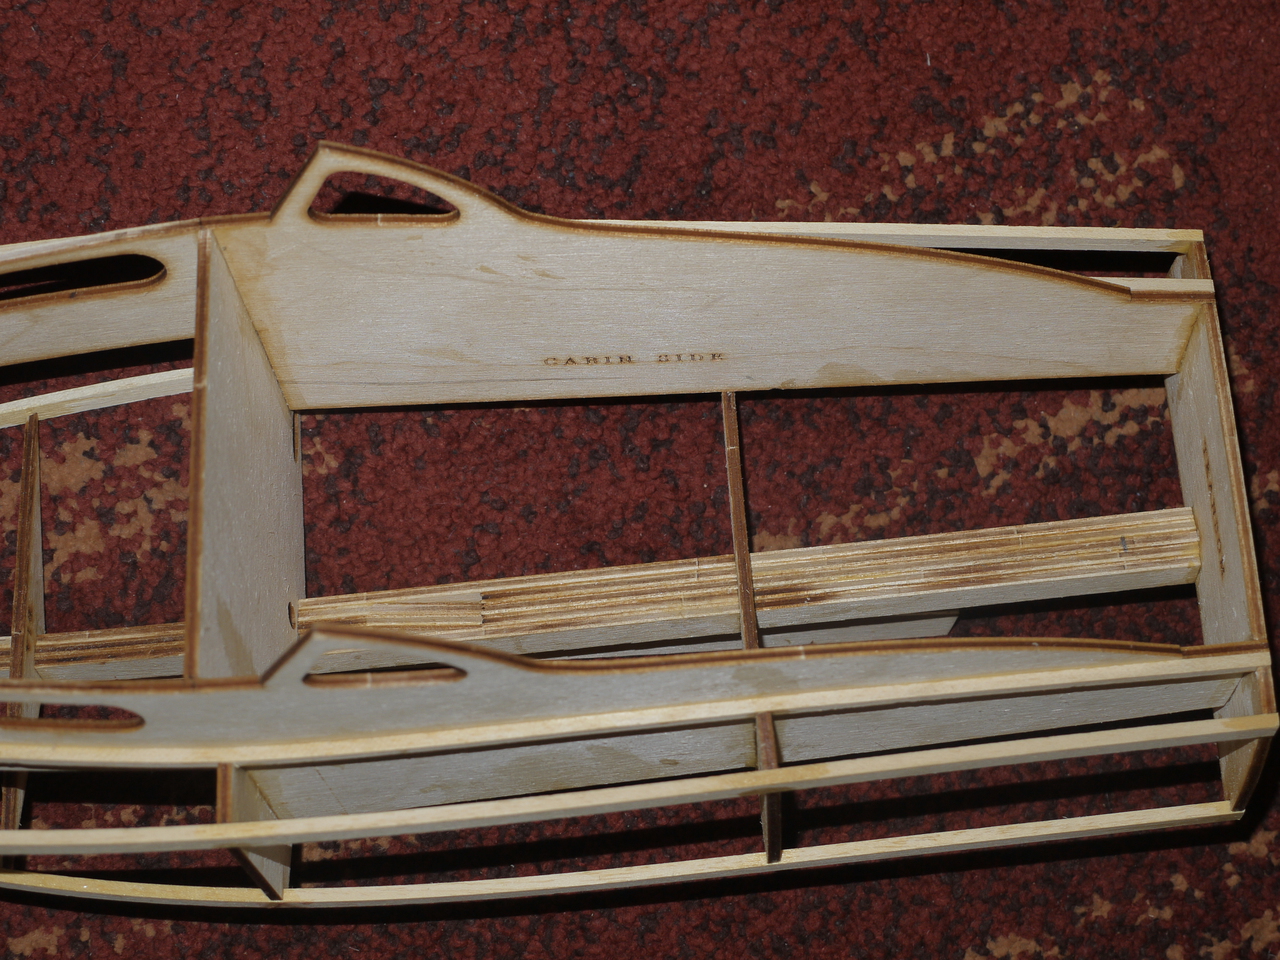
Now this may look like some crazy goings on but trust me, it is all square. I’ve no real building area at home so I have to improvise. The window sill is at a slant, but the two cabin sides are perpendicular to the former and it is all clamped up so it stayed that way!
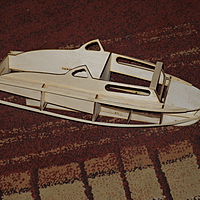
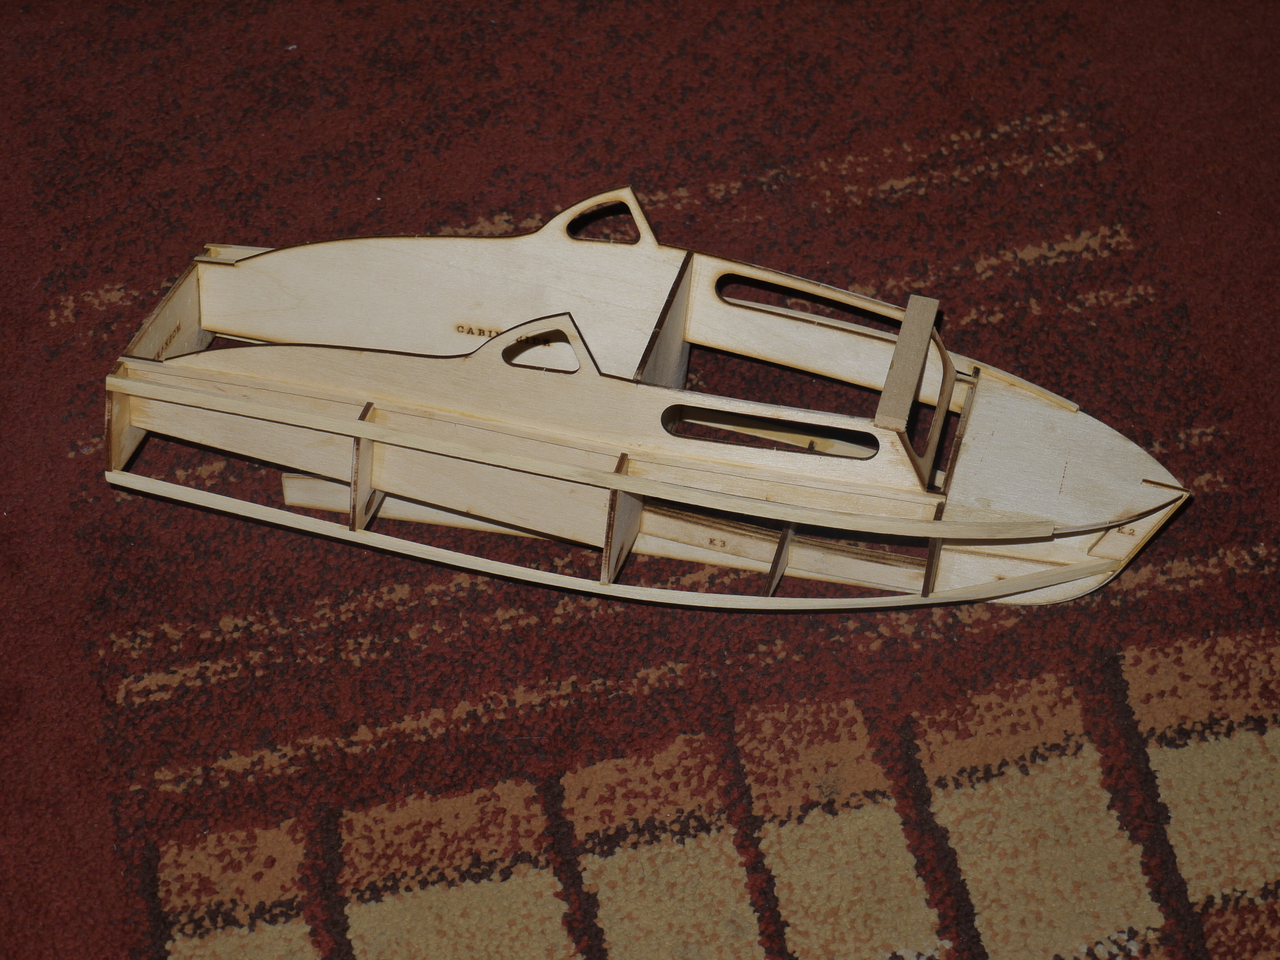
This is where I’m at right now, main structure built. I’m currently fiddling with the angled windows above the cabin roof which I’ve not yet satisfied myself I understand, more head scratching!
The rear cabin area is something which is troubling me at the moment. The floor originally was quite low, but I think I need to raise it sufficiently to hide my NiMH under it, I’m just worried that might be too high to look good. I’m also wondering where to put the rudder servo. I dont much want to raise the floor enough to have it under it, so I think maybe build a box at the back and decorate it as a seat.
You can read through all the posts about the Sea Nymph build here.
-
Aerokit Sea Nymph build - part 1
Before I start let me say I’m a complete beginner with model boats, I have been building and flying planes and helis for a while. So what got me into this boat lark?
I have a toddler (~3years old) who we quite often take to the children’s play area in a local park; Broomfield Park here in London. On the way to the kids area there is a fairly well attended model boat club using what I believe to be a purpose built boating lake which dates from many years ago. He loves watching the little boats on the pond, seemingly more interested in them than my noisy planes! One day my wife suggested I build him a little boat, well how could I refuse!
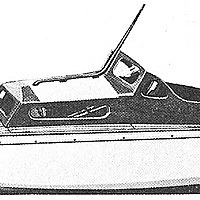
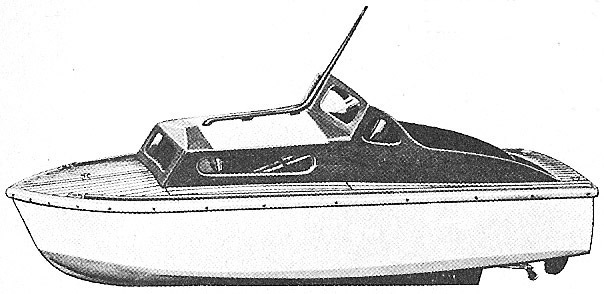
I’m a great fan of vintage model aircraft, and while flipping through a ’70s vintage Keil Kraft catalogue I found a selection of boats from the Aerokit range, a bit of googling later lead me to the Vintage Model Boat Company, (who are no more, having been bought by SLEC). They produce laser cut kits of some of this range. Not being one to think things through completely before diving in! I soon found myself in possession of a Sea Nymph kit 🙂
So this is how I got here, the rough plan is to try and use a 7.2v buggy NiMH pack and a receiver out of a car I no longer use. The kit came with a 385 (I think?) motor and I have a spare 9g mini servo. So I’ll need a rudder, prop shaft, prop and ESC.
Being mostly a thing for my kid to play with I dont intend to go to town on detailing. Simple but nicely done is sort of what I’m aiming for!
This is a scan of the KK catalogue.
You can read through all the posts about the Sea Nymph build here.