Tech & Toys
-
Aerokit Sea Nymph build – part 10
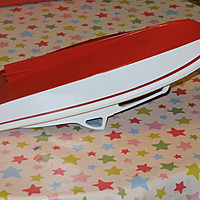
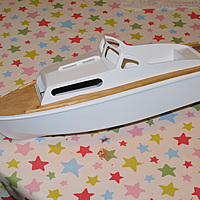
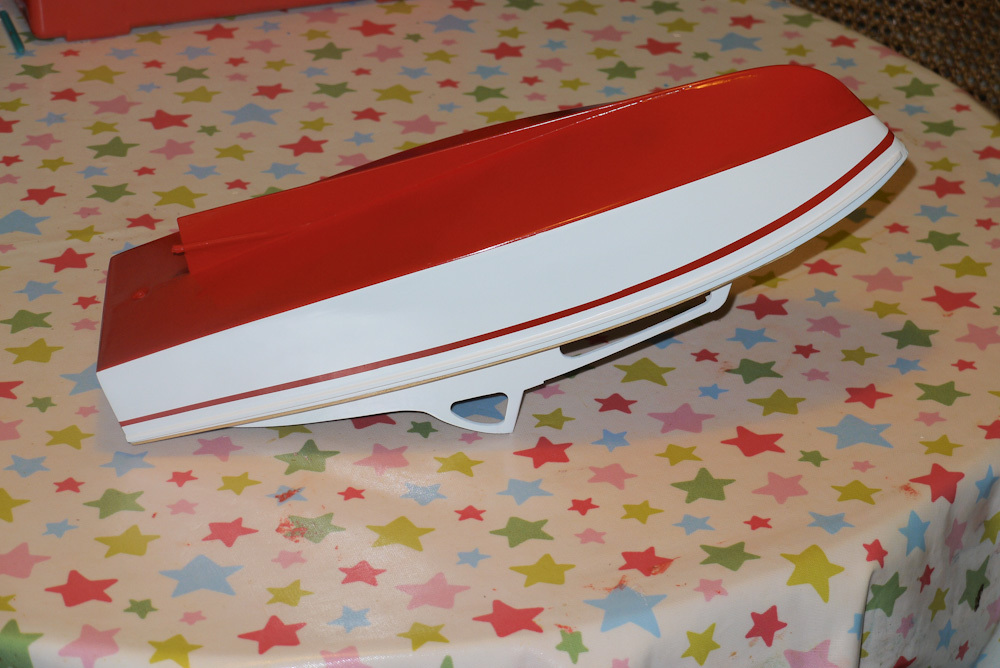
Right, I have broken out a colour other than white!
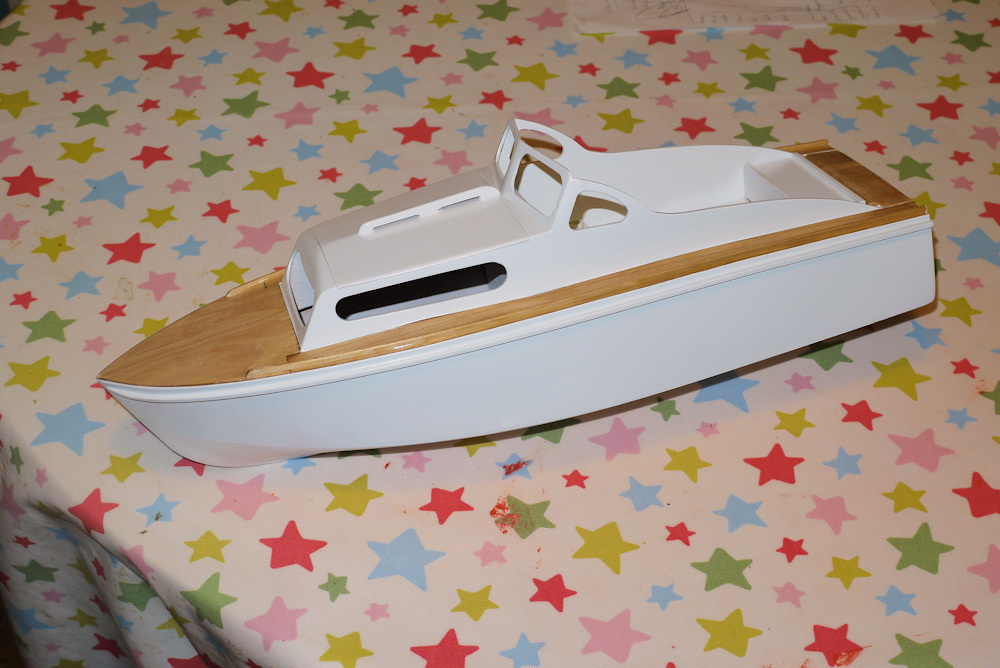
I tend to cover my ‘planes with film or fabric and use the same for decoration, so masking and painting is not something I’m overly familiar with. However I pushed on regardless 😉 I was advised to use Tamiya masking tape for its ability to give nice edges and lo, it appears to have worked.
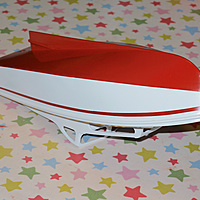
The line at the top of the hull isn’t perfect, it thickens slightly towards the bow on one side, and wavers ever so slightly, but in general I’m pretty pleased. After letting everything dry for a few days I’ll hit it with a gentle polishing compound.
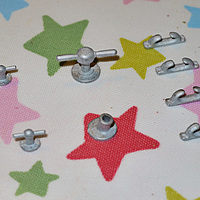
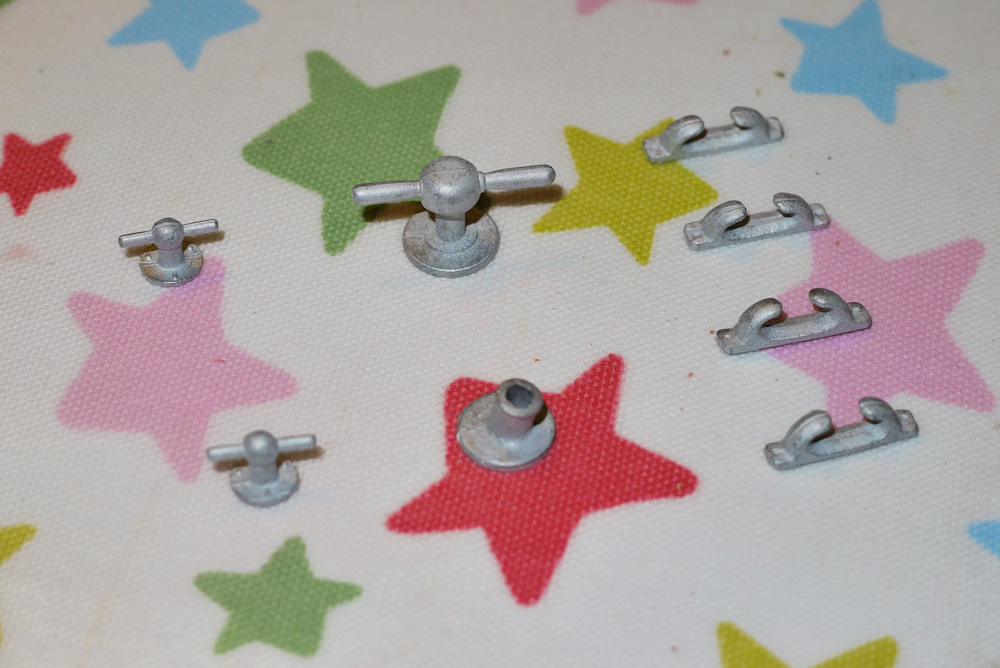
Turning to the finishing touches, a bored day at work led me to order the fixtures you can see below, I believe cast in white metal(?). I just need to figure out what colour I should paint them and how to attach them to the deck.
You can read through all the posts about the Sea Nymph build here.
-
Aerokit Sea Nymph build – part 9
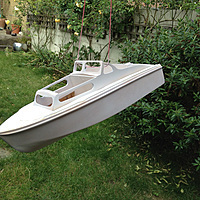
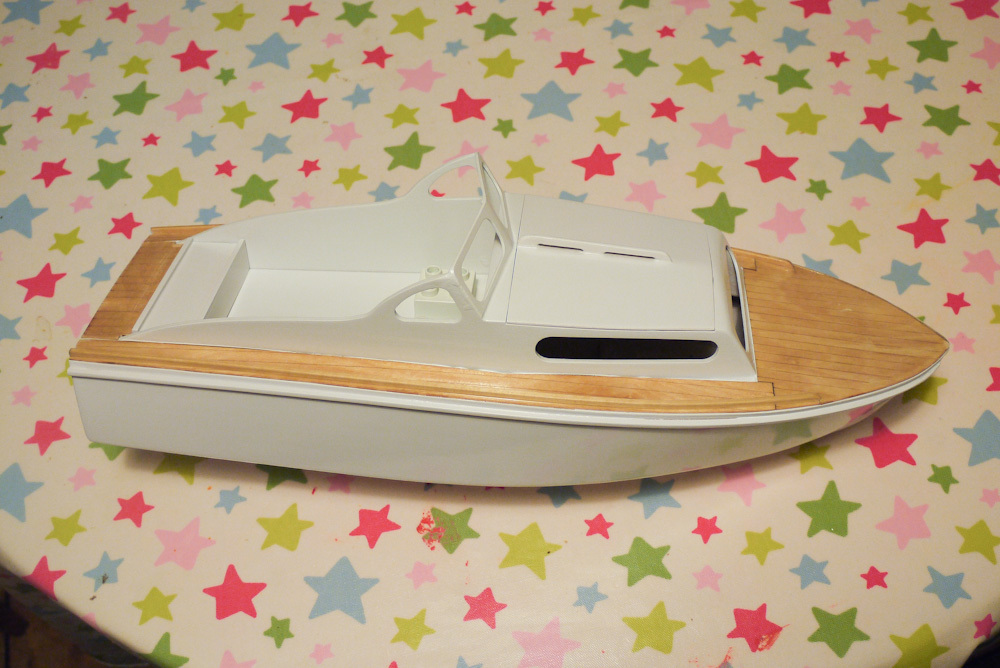
So after the primer comes the top coat. I flatted down the primer with some 1200 grit wet ’n’ dry last night and then masked up the colour separation line down the hull. I want to leave it a few days to let the white dry properly, then I’ll mask up the hull again and apply the final colour to the lower hull.
Everything will need a good polish once it has had a few days drying but I’m happy with how things look so far.
I ordered a few sheets of water slide decal paper today and the odd little deck fitting to finish her off, getting quite excited now! Have to build a display stand at some point as well I think!
You can read through all the posts about the Sea Nymph build here.
-
Aerokit Sea Nymph build – part 8
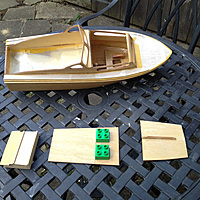
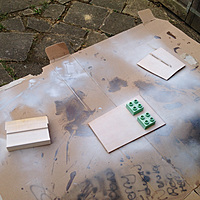
Right, I’ve made a start with the painting. Before starting to use the epoxy finishing resin I was worried it would be really hard to sand to a nice finish, but I needn’t have been concerned. This morning I sanded the entire boat with some 400 grit and the resin finish is looking fantastic. I’m begining to think maybe I should try resin on an aircraft at some point!
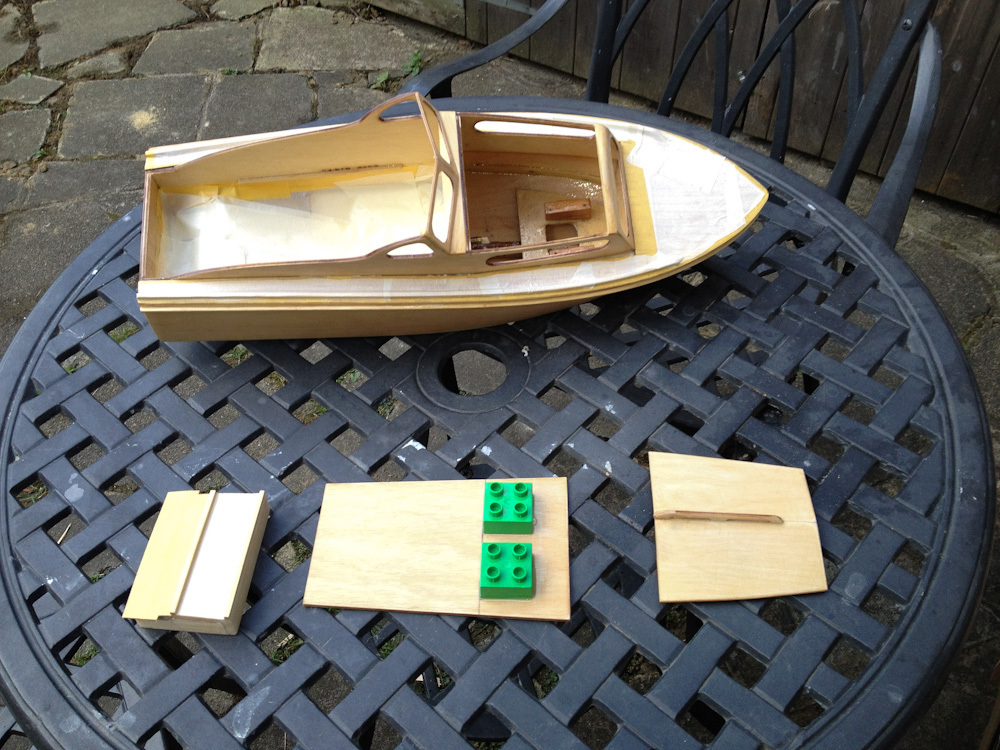
The decking area will be left as wood, so that had to be masked up first.
Then I gave everything a coat of primer.
I’m using Halfords acrylic spray cans for both the primer and top coat. Next step is to cut this back when it is properly dry, and if the finish is good enough push on with the top coat. Those green lego blocks are going to need more coats though.
You can read through all the posts about the Sea Nymph build here.
-
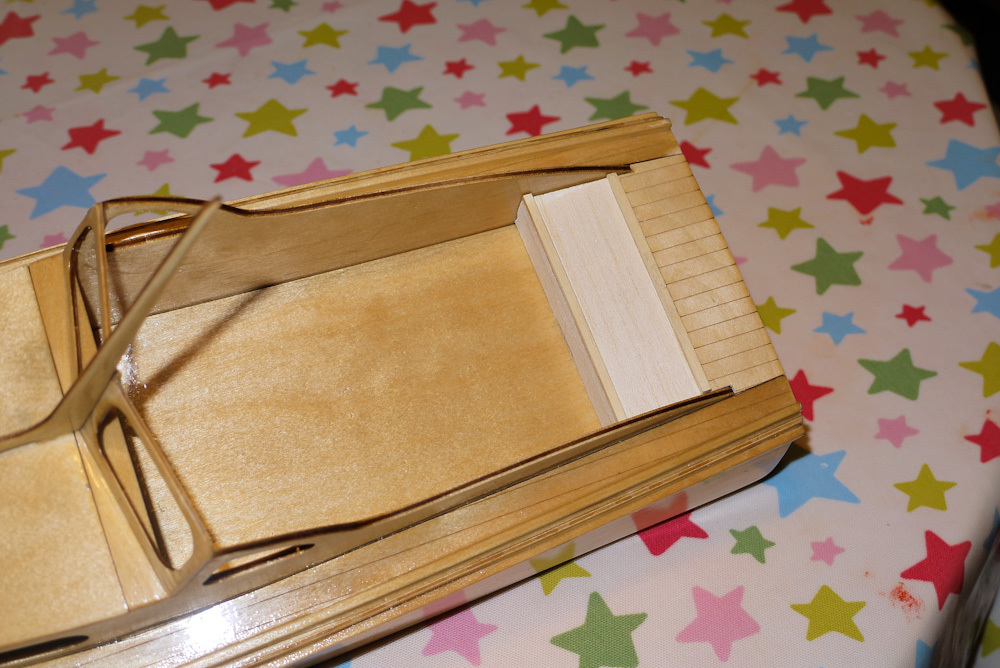
Aerokit Sea Nymph build – part 7
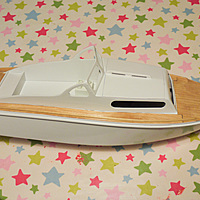
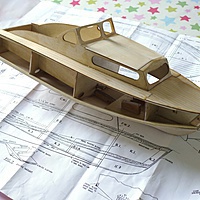
So now I’m back from holiday I’ve managed to make a bit of progress. The hatch at the back is built, I went for a sort of sun deck type affair rather than a seat. I have asked the misses for a little bit of sun lounger type fabric from her enormous collection to cover it with, we shall see what she comes up with. Cath Kidston most probably!
Having been on the water last week I have now removed all the electronics, ready for some gentle rubbing down with wet and dry and a few coats of paint. Hopefully I’ll manage to get to a shop on Thursday to buy a couple of cans of spray paint.
You can read through all the posts about the Sea Nymph build here.
-
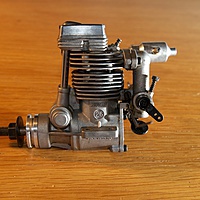
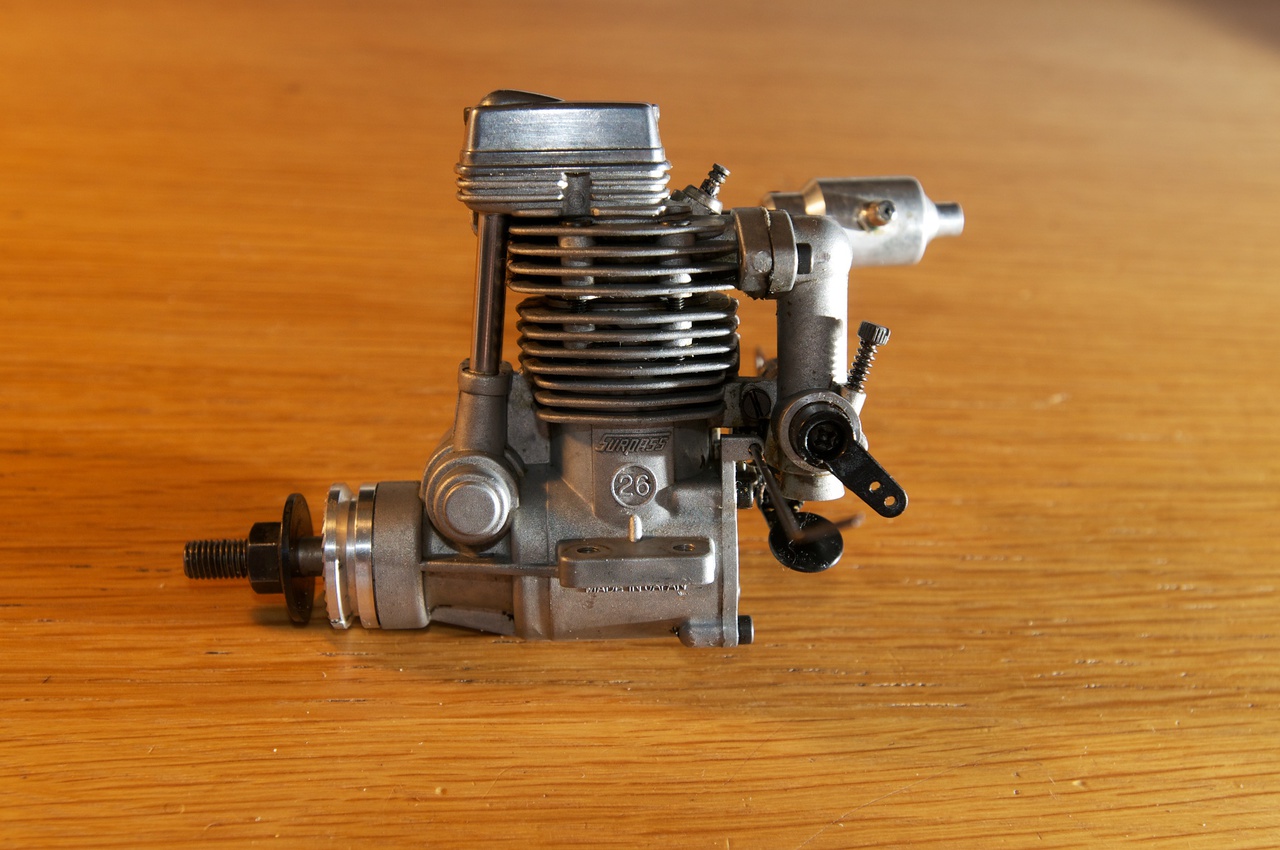
OS FS26
I bought a new engine! Having long fancied a small fourstroke, I picked up this bargain at Old Warden at the weekend. Runs lovely as you can see on the video this page. Now I just have to figure out what to build for it!
-
Sea Nymph sea trials part 2
Another quick video of the Sea Nymph on my fathers pool.
You can read through all the posts about the Sea Nymph build here.
-
Sea Nymph sea trials part 1
I managed to get her finished to the point of being water tight and having all the electronics installed before going on holiday, below you can see a little video of her on the pond at the Warminster Pleasure Gardens.
You can read through all the posts about the Sea Nymph build here.
-
Glamping
Last week we visited my father down in Devon, having grown bored of the usual places to stay, we cast around for something a bit different. It wasn’t long before Jenny found The Wood Life. Which is essentially 9 acres of woodland in the middle of a massive field, with a big tent and a few other niceties in a clearing in the wood. Well, that turned out to be quite different to a hotel then!
It was hard work in places, but great fun. A few of the Instagram pics I shot are shown below. You can get a feel for the size of tent from the first pic, it is an Albion Canvas (Broken link
http://www.albioncanvas.co.uk/) Tsavao, configured with two bedrooms and a large kitchen/lounge/dinning area. Thankfully the owners have installed a nice wood burning range to heat the place. Although getting up at half six to build a fire was not something I would want to do every day!
-
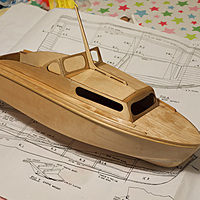
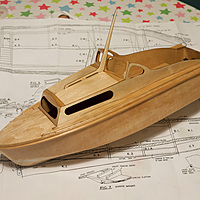
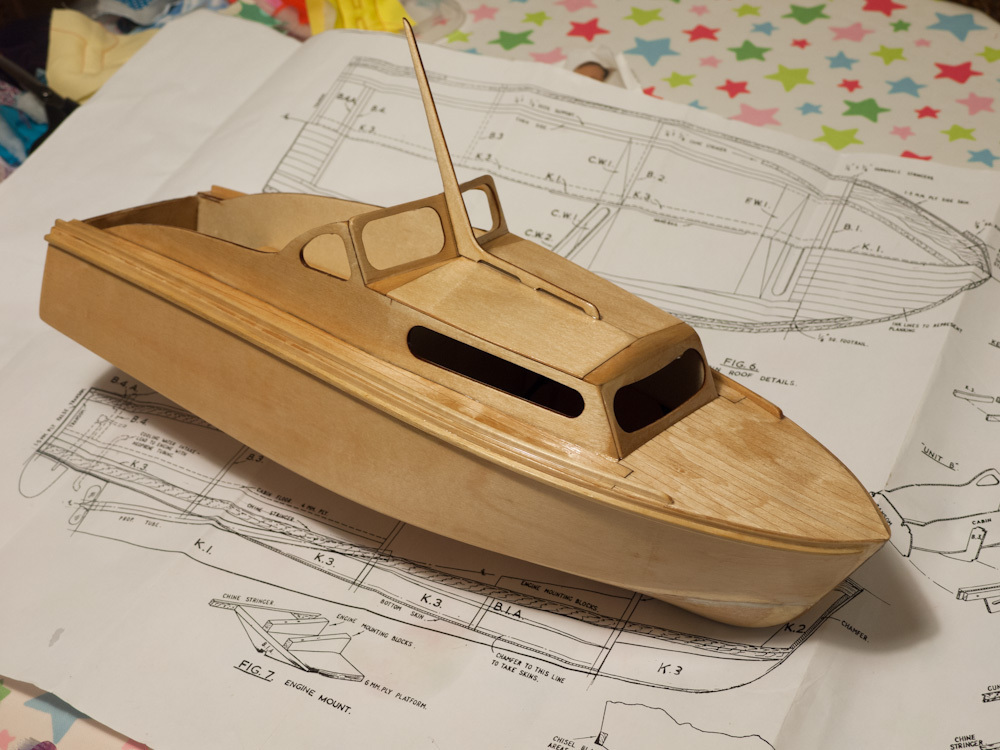
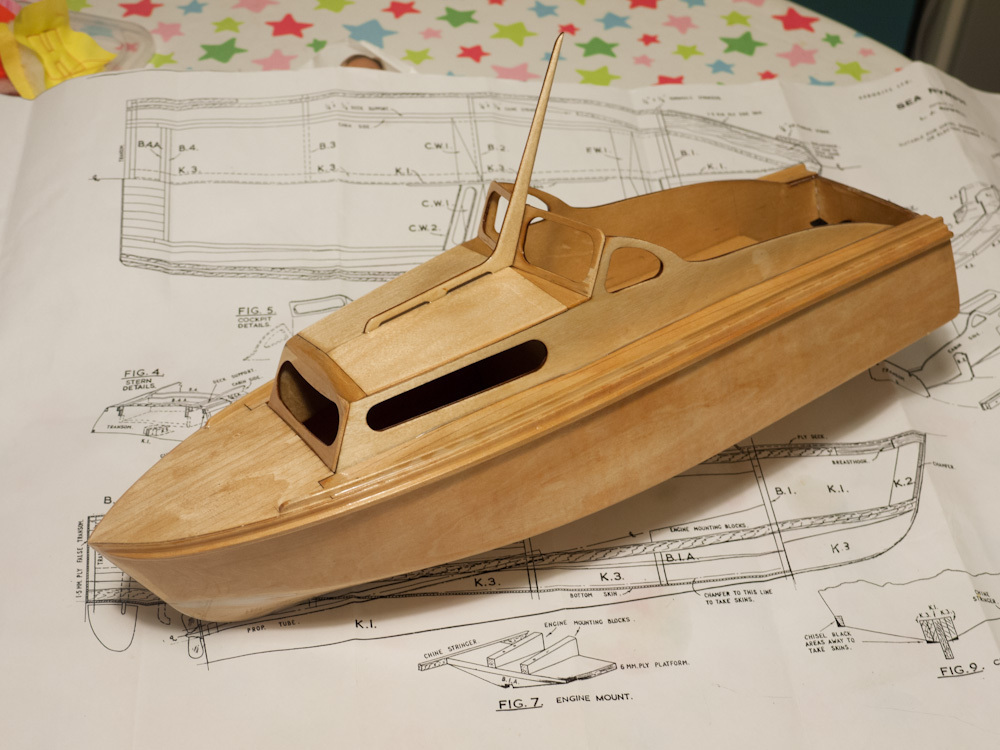
Aerokit Sea Nymph build – part 6
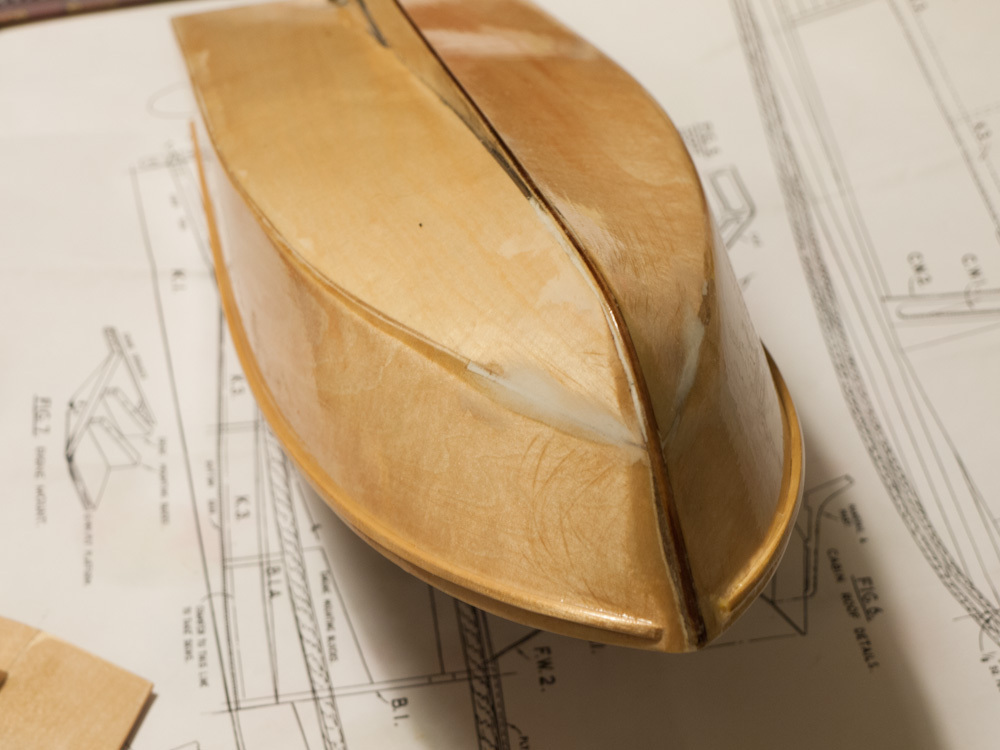
After a few busy evenings bending plywood and much sanding, construction is all but finished.I’ve given the entire boat two coats of resin Z Poxy finishing ). I have yet to finish the rudder servo cover/rear seats but I figure given it will be a removable hatch it can be built later.
I have never used resin as a finishing technique and I have to say I was a bit nervous, but I needn’t have been. It went on really nicely; two thin coats applied with a brush and excess wiped off with a sponge. The last coat will need a little cutting back with some wet and dry before I paint it.
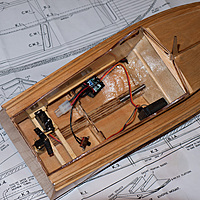
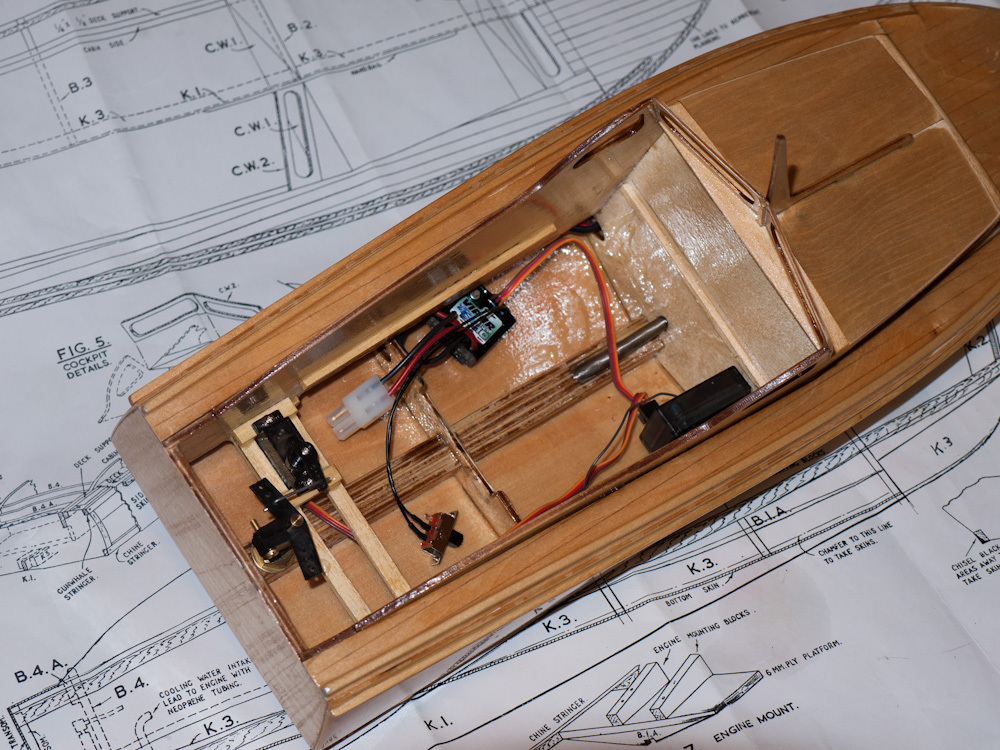
With the second coat dry I installed the radio gear which went in pretty easily because of the test fit before applying the side sheeting. Some thought will need to be given to securing the battery, current thinking is a Velcro strap attached to the keel.
After all that we were both as excited as each other to put her in the bath, I’m pleased to report all went well, happily going back and forth without sinking! The only water ingress appeared to be from the top of the rudder outer tube, although it was only very slight.
You can read through all the posts about the Sea Nymph build here.
-
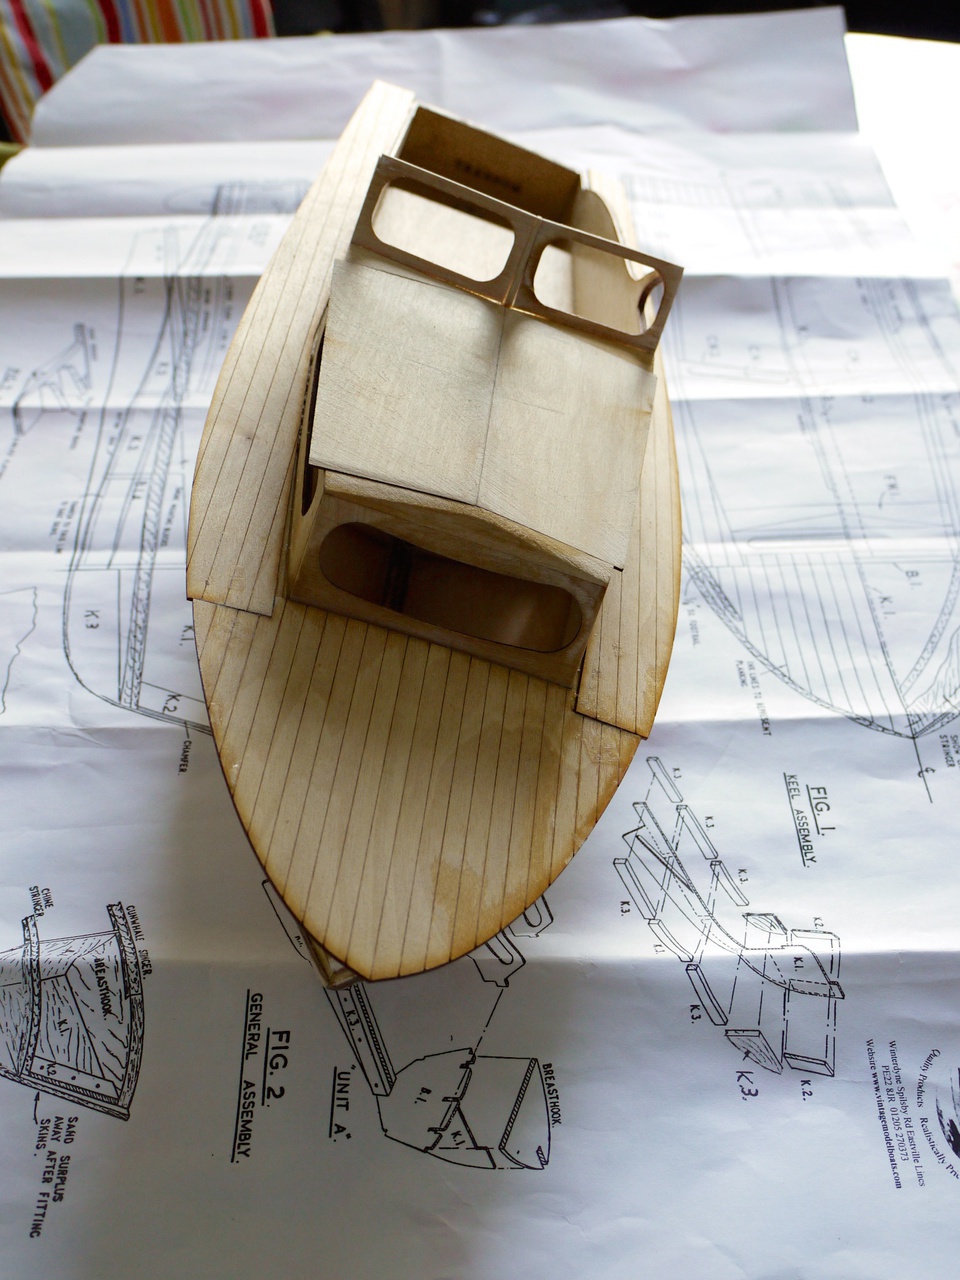
Aerokit Sea Nymph build – part 5
I managed to get a good few hours yesterday alone and in peace to make some progress.
On Saturday night I gave all of the internals of the boat a coat of resin (Z-Poxy Finishing Resin). Hopefully all the areas I wont be able to access later are now sealed.
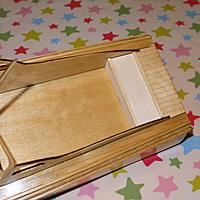
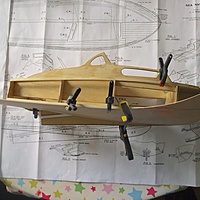
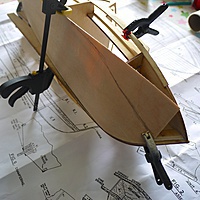
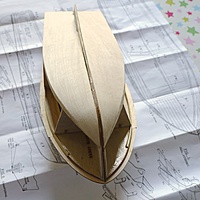
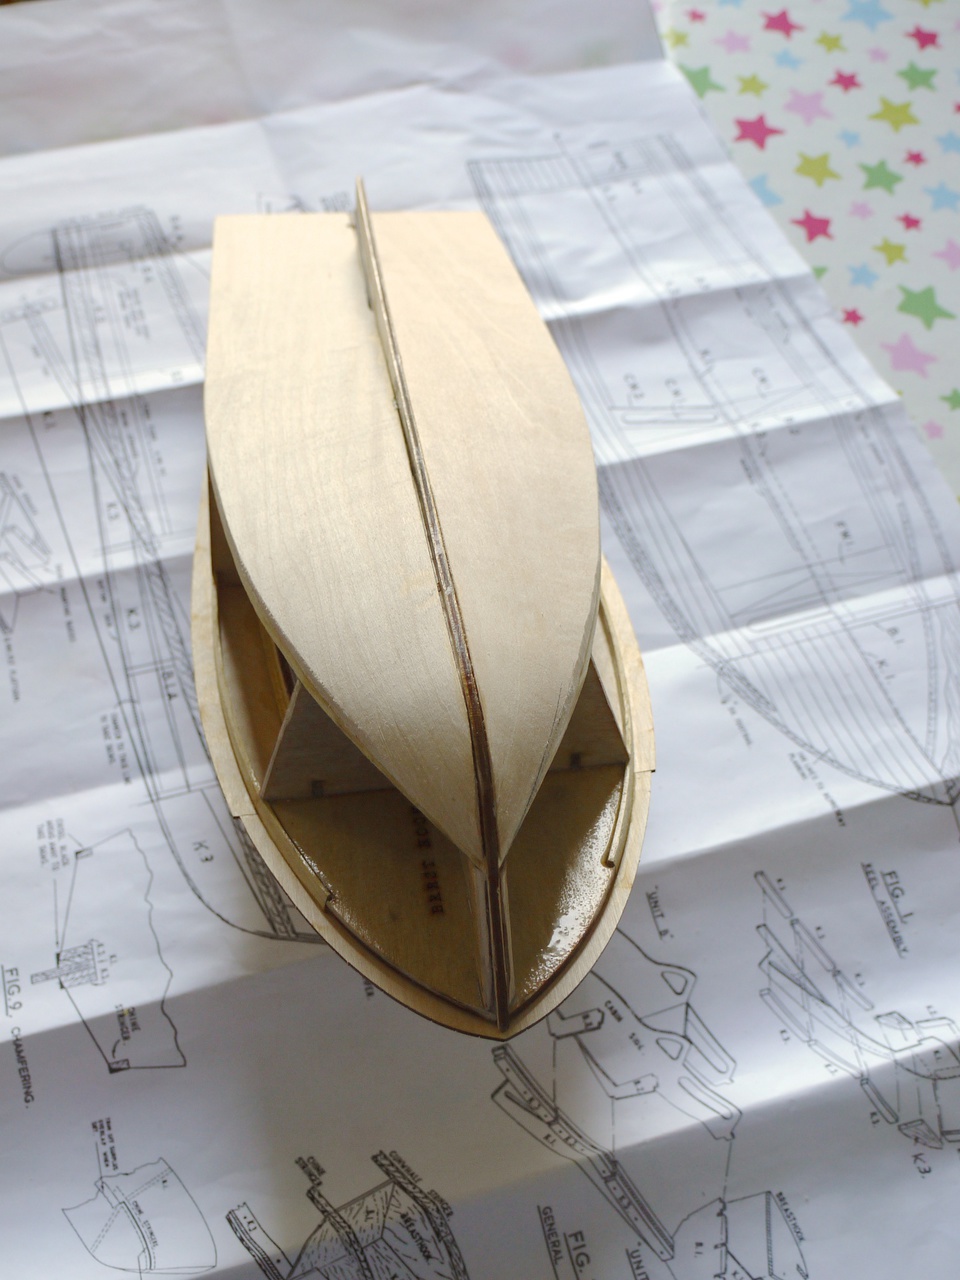
Then I decided to tackle the hull sheeting, which I have to admit I was not looking forward too! I roughed out a couple of carboard templates which helped a lot and before long I had to the two lower sheets attached.
Above you can see the lower right sheeting clamped on and drying.
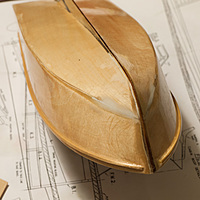
Closeup of the nose showing a pencil line where I rough cut it before sanding to shape.
Two lower sheets applied and sanded to shape.
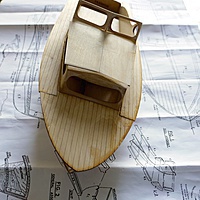
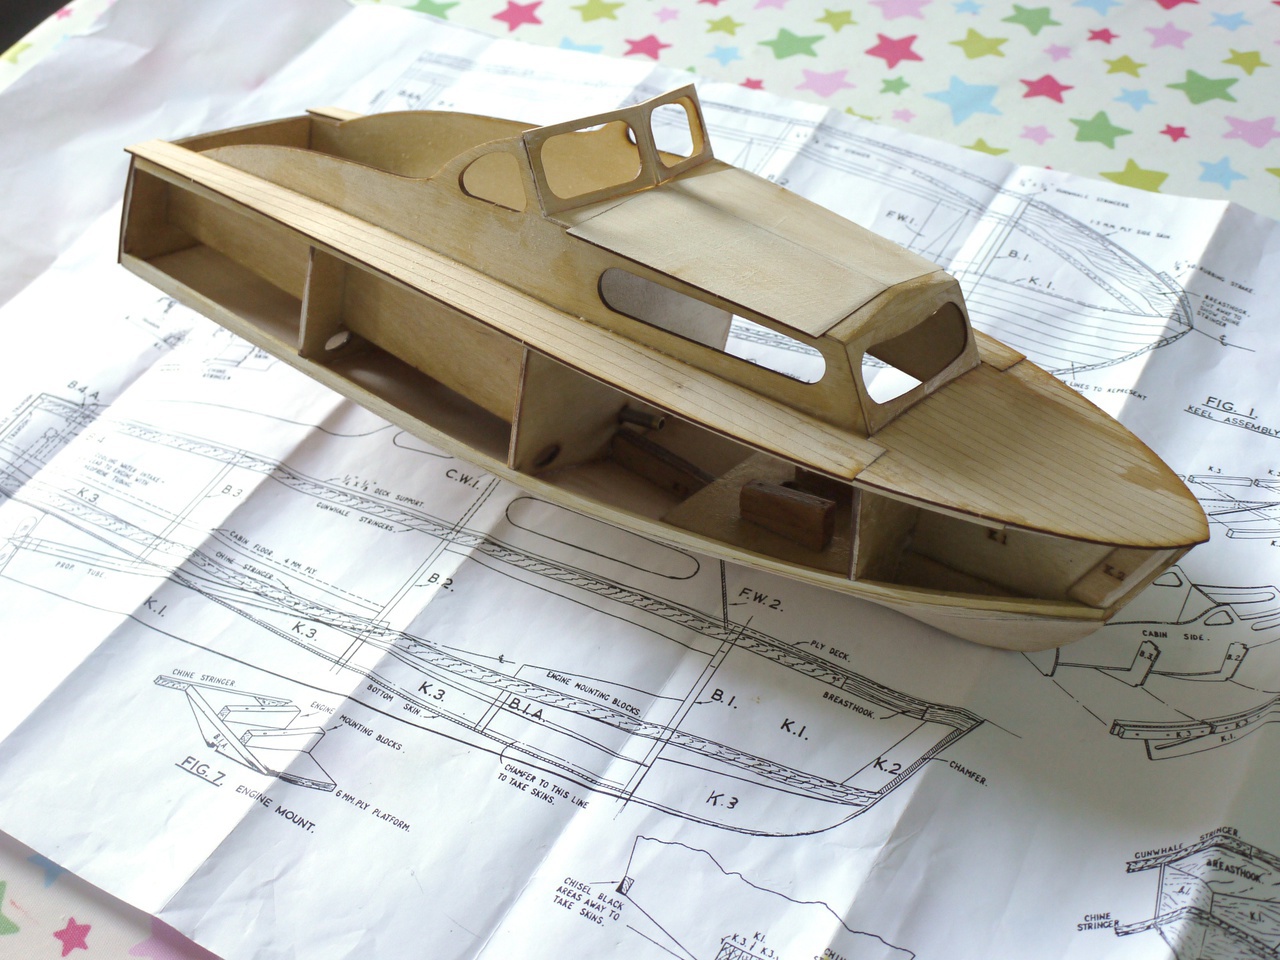
Next up; the side sheeting. I think it will look best overlapping the decking rather than the other way so I got the breasthook and side decking attached first. That is where things are now, the final pics show it all attached but not trimmed to shape. I have now sanded it back to the stringers ready for the sheets. Hopefully I’ll get them attached today.
Hopefully I’ll get to the side sheeting today, then the major construction will be finished although I still need some seat/hatch type structure at the back to cover the rudder servo.
You can read through all the posts about the Sea Nymph build here.


