Keil Kraft Phantom
Christmas 2010 saw me receive a present from my Wife of a Replikit
Keil Kraft Phantom, I had a few [other]https://riviera.org.uk/models/historic/keil-kraft-piper-super-cruiser-converted-to-electric-rc/, [things](https://riviera.org.uk/models/cars/electric/tamiya-hotshot/ I wanted to finish before the build but I finally got round to starting it in May. Christmas to May the following year is pretty good for me, I dont like to think about the WestWings SearFury I received the christmas before and is still not started!
What follows is in reverse order, latest developments at the top.
October 2012
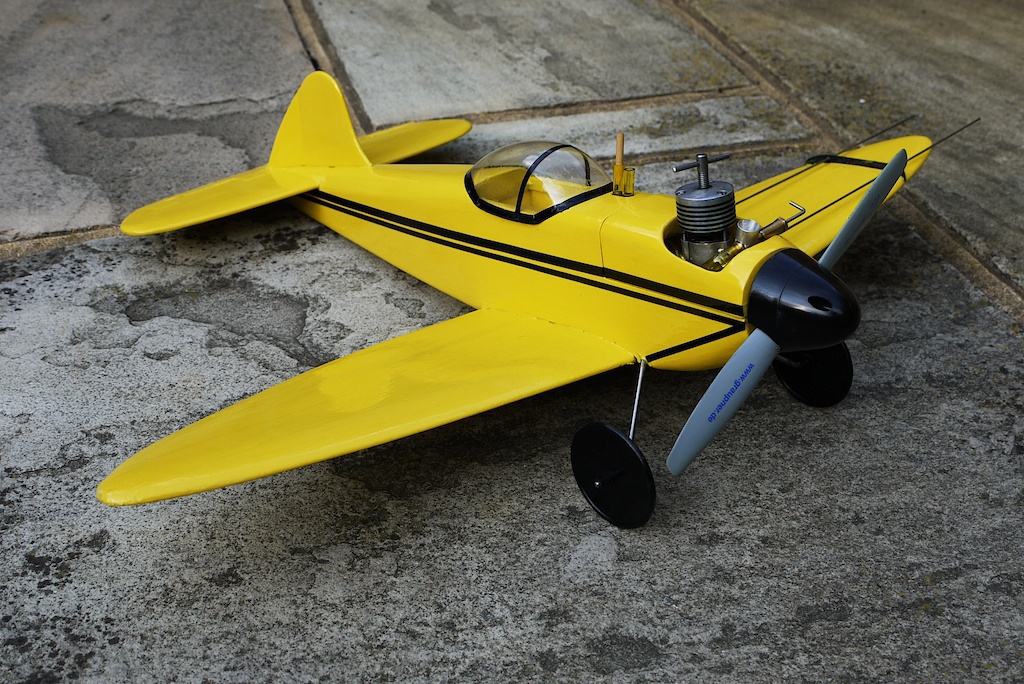
Having glued the wing back on and getting her back into flying condition she has sat around for a couple of months. I have decided to hang her up in number one sons bedroom where he gets to say ‘Yellow, Aeroplane!’ every night before he goes to bed. Naturally the PAW has been removed from the airframe and stored away safely for the next model. I’ve a plan for the Matador sitting around here somewhere, hmm.
August 2012
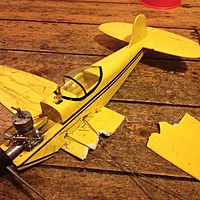
Well, after two years sitting on the shelf in my office she finally had her maiden flight tonight. A regular CL flyer at the club had the first few flights. Initially the compression screw repeatedly came loose to the point the engine was cutting out. After another club member took the locking nut off his PAW and put it on mine we solved that. Then 5 or so flights were had, she was going well and so enjoyable to see her in the air after what seemed like an eternity confined to my office! I had a couple of flights, one very short after I managed let things get a bit out of control, the only damage being a bent undercarriage which slightly damaged the right wing. Second time out was much better, I think I got through almost a full tank when I got too dizzy. Up she went, I fed in some down but it was too much. Bang, in she went. The UC has been ripped out, the bottom block below the motor has come off, with the lower fuselage sides being split open. And as you can see the left wing has parted company with the rest of the model :) I think it is all fairly easily fixable so I’ll have a go. Might leave the UC off this time.
August 2010
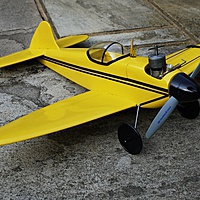
Time seems to have been in short supply during the last couple of months, however with a few spare evenings this week I’ve managed to finish it. I even managed to get the PAW run up in the airframe, thankfully my tank seems to work fine! Now I just need to find a bit of time on a nice day to go and fly it.


May 2010
I’ve finally started the build, I will try and snap some shots as I go along.
Fuselage
The first steps are to glue the engine bearers, F2 and cockpit floor onto the fuselage sides, then join them. Once joined the top blocks have been glued in in place and roughly shaped to a nice round profile. The front most block only having been tack glued in place so it can be removed to install the tank. Once the cockpit had been fuel proofed, the tank was installed and the top block glued back on, this time properly. Next step was the cowl, I started by tack gluing the sides in place and installing the front and top filler bits, after rough shaping I removed it, installed the engine and started carving away so it fitted nicely. I’m pretty happy with the result, although it took a lot longer than I expected! Next up was the tail feathers. I’ve sanded the tailplane and elevator to a nice shape and used traditional cloth hinges. The tailplane and the fin are then glued to the top of the fuselage with a infill block which follows the line of the top of the fuselage.


Tank
I looked around the ’net for a while but couldnt find a suitable 15cc (1/2 oz.) tank, so I figured I would try and make one. Not having soldered up a tin tank before I was a little nervous it would be a failure. A little while making sure everything was lined up and square and I finally plucked up the courage to plug the iron in and have a go. As you can see it turned out ok, its air tight and square, it even seems to fit well between the engine bearers!


Subscribe via RSS