Hpi Bullet New Body
Its been a couple of years now since we bought the Bullet, its been a right blast in that time, normally being our first choice of car if we are going to the park, the woods, or the skate park (!). It has stood up really well to anything we’ve thrown at it having only broken a couple of bits in that time; We broke a front hub carrier in an argument with a football goal post, and weirdly a diff shaft snapped which meant we also lost the drive shaft.
However, the one bit of it which is increasingly looking very mangled is the body shell. It has a tendancy to wheelie if you apply full power from a standing start which catches the back of the body on the ground and mangles it up a bit, also after a lot of jumping and landing on the roof the top is starting to crack. So given its having its second birthday we figured it deserved a new body. Originally I planned to buy the same again but when I got round to looking for the finished body, everywhere was out of stock so we grabbed the unpainted and untrimmed plain shell and set to painting it ourselves.

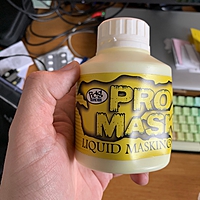
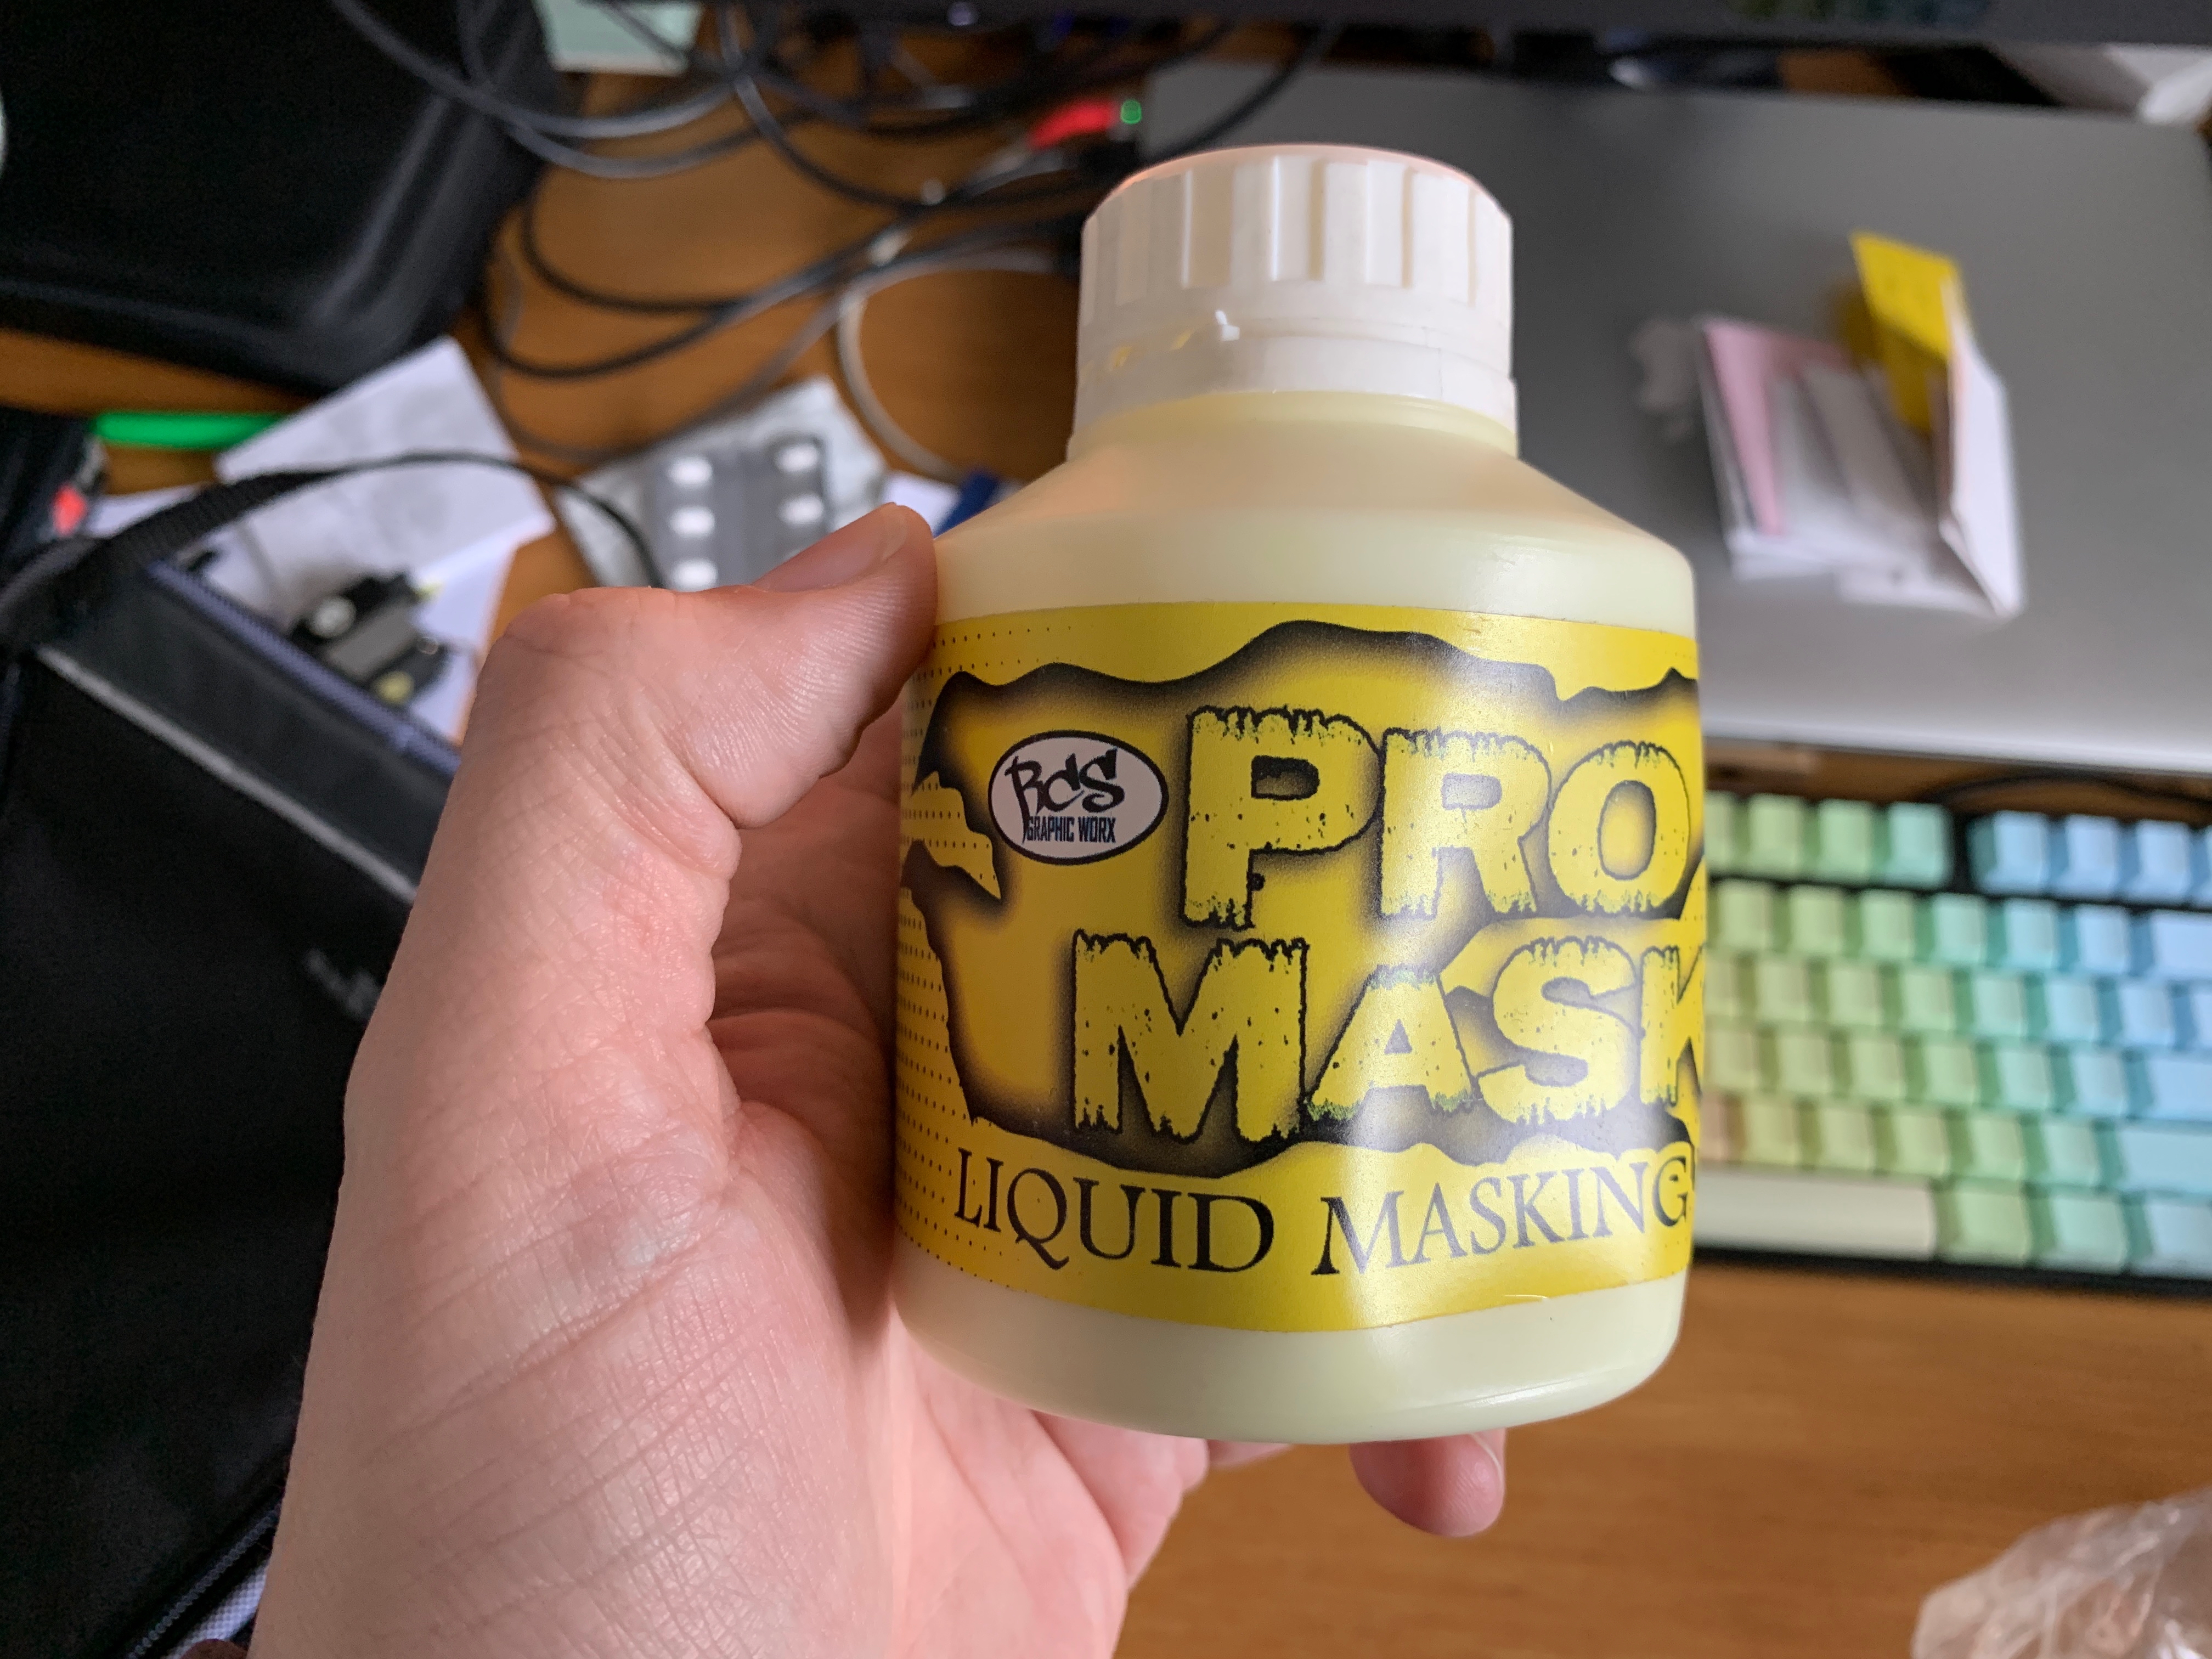
After painting my B64 and using masking tape I wanted to try something I had seen on YouTube, namely Liquid Mask. It looked like a really good solution to the problem of getting the tape around both the curves in the body and the curves in whatever design you want. I bought a bottle “Pro Mask” from a local RC car shop (DMS Racing in Watford) and set to it.
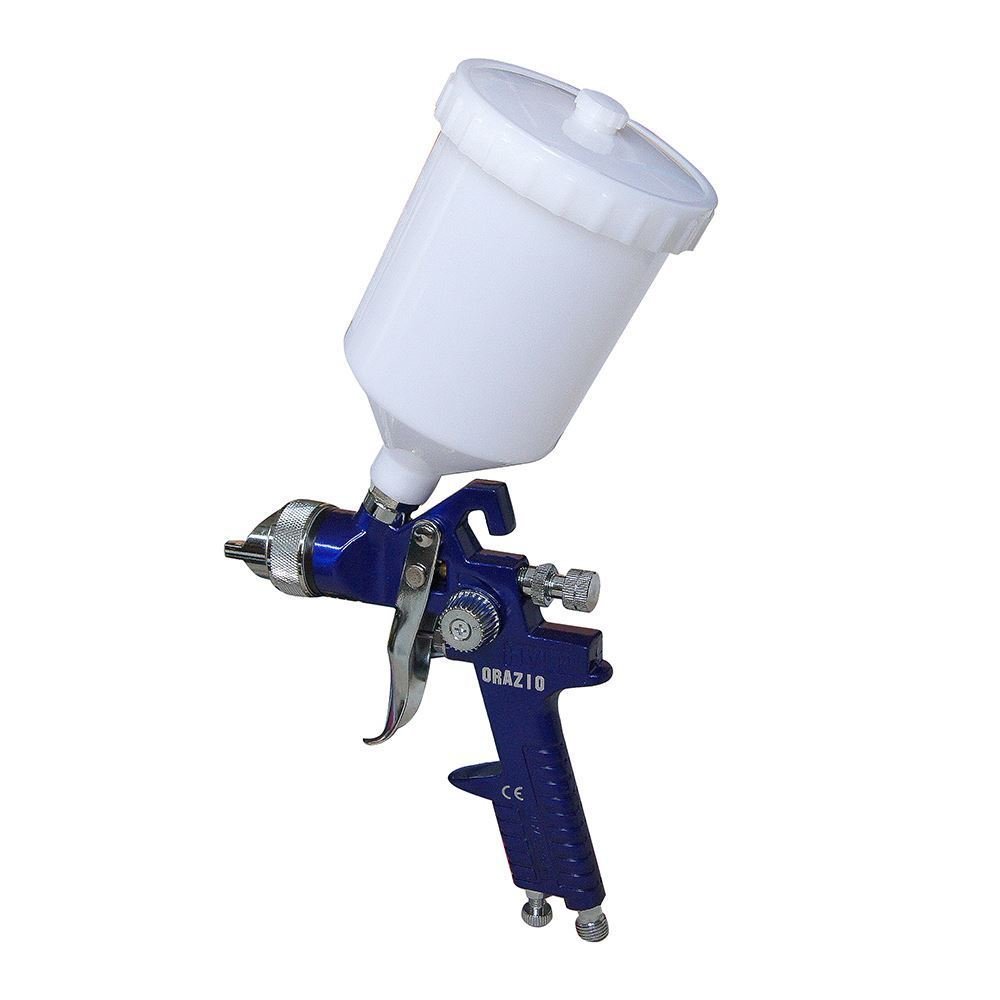
The mask is quite thick so I thinned it out a bit, but I found spraying it on with a normal airbrush just wasn’t cutting it, to get a good build up would take hours. So I grabbed a much bigger paint gun for about a tenner on Amazon. That was much better, I sprayed on 2-3 good thick coats then let it dry. While it was drying I marked out a fairly simple design on the film which HPI put on the outside of the body to protect it during spraying. Then I got to work cutting out the bits on the inside. Yellow first, backed by white, followed by orange and then red, back each with white as I went. I had some window tint left over from the B64 which I used to dark the windows a bit.
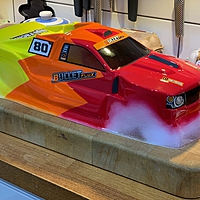
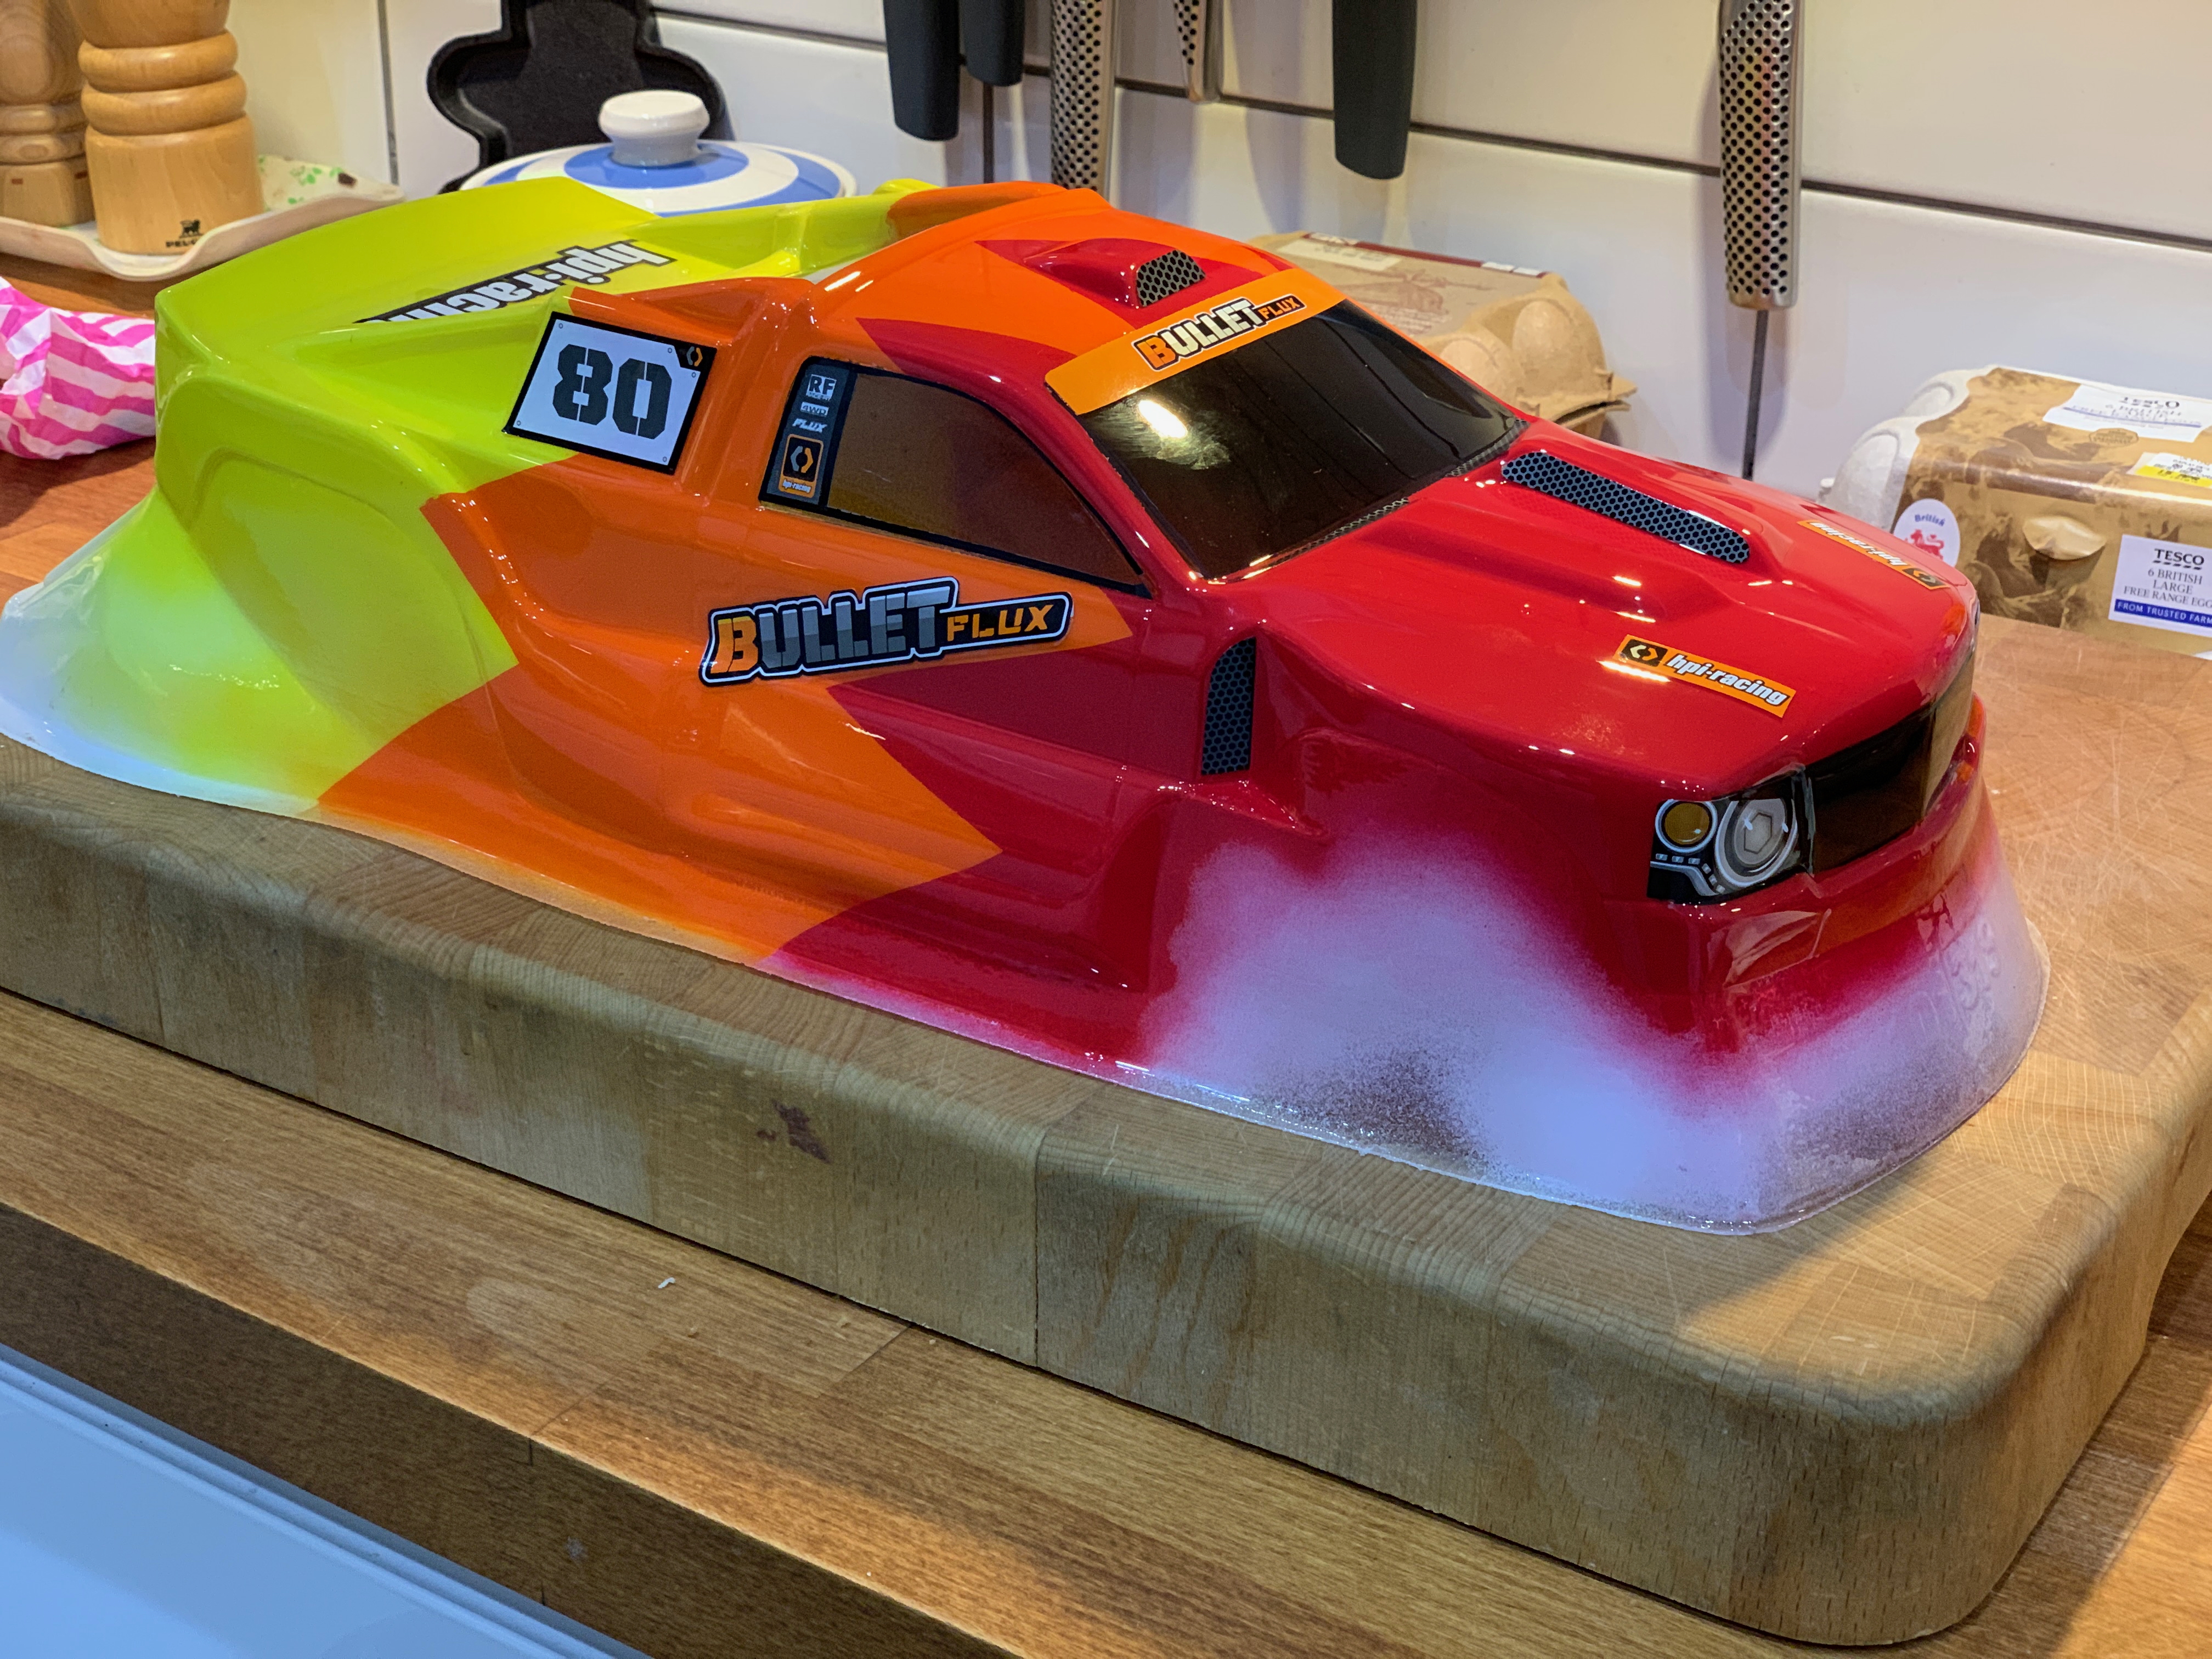
After all that it was with some trepidation that I pulled off the protective film from the outside. But as you can see I needn’t have worried, it came out looking pretty good. The lines between the colours are clearly defined with no bleed and overall I’m pretty stoked with it.
Learnings
I learnt a few things along the way:
- Really needed more coats of mask than I used. In some places it was really quite thin and a right pain to get off.
- Don’t be so eager to get on with the next colour, I knocked the yellow while removing the mask for the orange, going through the dry but not completely set paint meaning I had to go in and re-do that bit. Even using a hair dryer I should let each colour cure properly before doing the next.
- A hair dryer really helps!
- The paints I used definitely don’t need thinning, I thinned the yellow by too much and had to put on about 10 coats. I didn’t bother thinning the orange or red and they went on really well straight from the bottle, amazing coverage.
- Cut the body out first! I’ve seen some people cut it out later, which is what I did but its hard going when you are trying your upmost to avoid damaging the paint.
Gallery
I took a few shots along the way, you can see those below. For reference, I didn’t actually paint it in the kitchen, it just happened to be one of the few clear surfaces I could put the body to photo it!


Finished body
After giving the car a good clean and installing the new body mounts I shot a few pics of the finished body. We think it looks great, all ready for another year of bashing!


Subscribe via RSS