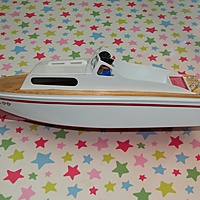
Aerokit Sea Nymph build – part 11
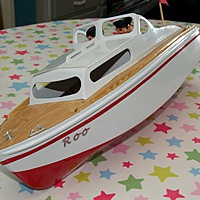
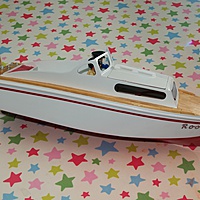
She is finished! We have yet to take her onto the water since the ’naked’ outing a few weeks back, but hopefully we’ll get a chance this weekend.
I painted her with Halfords Acrylic paints, masked up with Tamiya tape. Once everything had a few days to dry I polished up the paint and the deck with polishing compounds, coarse first and then fine.
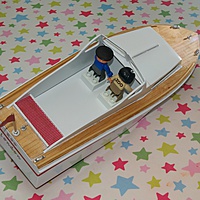
I bought a few simple deck fittings from the Vintage Model boat company to set the deck off, these needed tidying up quite a bit with coarse sandpaper, after which I sprayed them with Tamiya primer followed by a couple of coats of silver metalic.
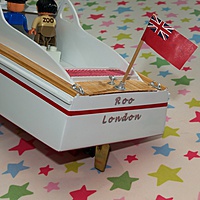
The decals I made using an inkjet and some clear water slide decal paper. They were given a coat of gloss acrylic and then given another coat to seal the edges once in position. The name is what he calls himself, which is nothing like his name but hey ho, who knows what a 2.75 year old is thinking ;-)
As for the people well, as I said the boat is really for my toddler and apart from Thomas the Tank Engine, Lego is his next favourite thing. And there was no way I was going to have a steam train driving the thing! I glued two 2x2 duplo blocks to the rear deck so he can chop and change the figures as he wants. I now wonder if I should have just used a entire plate of duplo for the rear deck, oh well he hasn’t complained!
Right, that’s that I think. I might post some action shots if I get a chance to take my camera when we go to the pond.
You can read through all the posts about the Sea Nymph build here.
Subscribe via RSS
