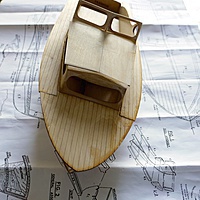
Aerokit Sea Nymph build – part 5
I managed to get a good few hours yesterday alone and in peace to make some progress.
On Saturday night I gave all of the internals of the boat a coat of resin (Z-Poxy Finishing Resin). Hopefully all the areas I wont be able to access later are now sealed.
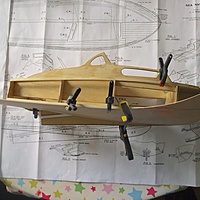
Then I decided to tackle the hull sheeting, which I have to admit I was not looking forward too! I roughed out a couple of carboard templates which helped a lot and before long I had to the two lower sheets attached.
Above you can see the lower right sheeting clamped on and drying.
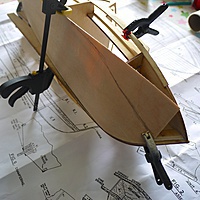
Closeup of the nose showing a pencil line where I rough cut it before sanding to shape.
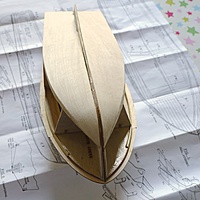
Two lower sheets applied and sanded to shape.
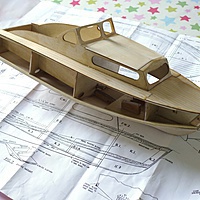
Next up; the side sheeting. I think it will look best overlapping the decking rather than the other way so I got the breasthook and side decking attached first. That is where things are now, the final pics show it all attached but not trimmed to shape. I have now sanded it back to the stringers ready for the sheets. Hopefully I’ll get them attached today.
Hopefully I’ll get to the side sheeting today, then the major construction will be finished although I still need some seat/hatch type structure at the back to cover the rudder servo.
You can read through all the posts about the Sea Nymph build here.
Subscribe via RSS
