Aerokit Sea Nymph build - part 3
I have managed to visit the local model shop where I bought a nice propshaft, prop, motor mount, UJ and a little ESC. The ESC is NiMH only, partly because I wanted to make use of some old NiMH cells, rather than my aircraft LiPos and partly because the model shop had nothing else in and I didnt fancy going elsewhere. So at some point in the future I’ll have to face up to getting a buggy pack in there. One thought I had was to split it into mini packs, but still wired the same way. Not thought much about that yet but it is a possibility.
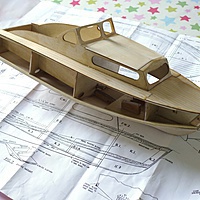
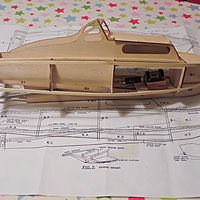
As for tonights progress, I’ve all but completed the upper cabin area and the hatch. Everything needs shaping but it is all together. The one pain is there gap between the two upper windows, they were too short and I had no ply in, so I’ve left a gap and cut a wedge shape out of offcuts to fit in the gap, I’ll get that in tomorrow.
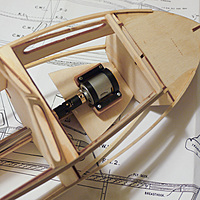
The biggest progress is the motor is now mounted. I had to lower the mount plate, cut some wedge shaped bearers and still had to shave a bit out of the plate because the motor was still sitting too low. It all feels solid though and the motor is a straight run to the prop shaft so I’m happy. The propshaft is still too long, I’ll get to that tomorrow.
So now I can’t avoid attending to the rudder. Gulp!
Last shot for tonight.
You can read through all the posts about the Sea Nymph build here.
Subscribe via RSS


