Thomas and Friends Trackmaster layout

The lad seemingly has always loved trains, I’m not sure when this obsession started, but it was long enough now that it feels like it has been forever. One of his favourite train sets (yes, he has 3 different sets, sigh), is the Tomy (now Fisher Price) Trackmaster sets. These are battery powered trains of a nice size for a toddler to hold with plastic track which is pretty hardy which is handy given how kids toys get quite a rough life.
Pretty much every day, we would get some of the track out, make him a little railway and he would play with it. The problems started when his baby sister started to crawl. Then she seemed to take great joy in crawling over to the track and yanking on a piece of it, the track all being connected together means the entire track was dragged towards her and we had a very unhappy little man on our hands!
The solution was decided to be a chunk of some sort of board and fix a layout to that. ‘It has to have hills’ my wife added, ‘oh and a pond’ wtf! This is turning out to be a project, not just nailing some track to a board.
Ok, first step was to decide if we had a big chunk of board, where would we put it when not in use, our little Edwardian terrace is already bursting at the seams. There turned out to be a reasonable gap under the sofa, so a bit of measuring later and I had a chunk of 12mm MDF en-route which was cut to be the biggest it could be and still fit under the sofa, between the legs. I ordered a packet of little easy slide furniture feet to bang into the bottom to make moving it in and out easier.
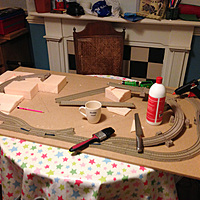
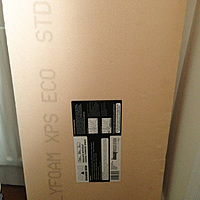
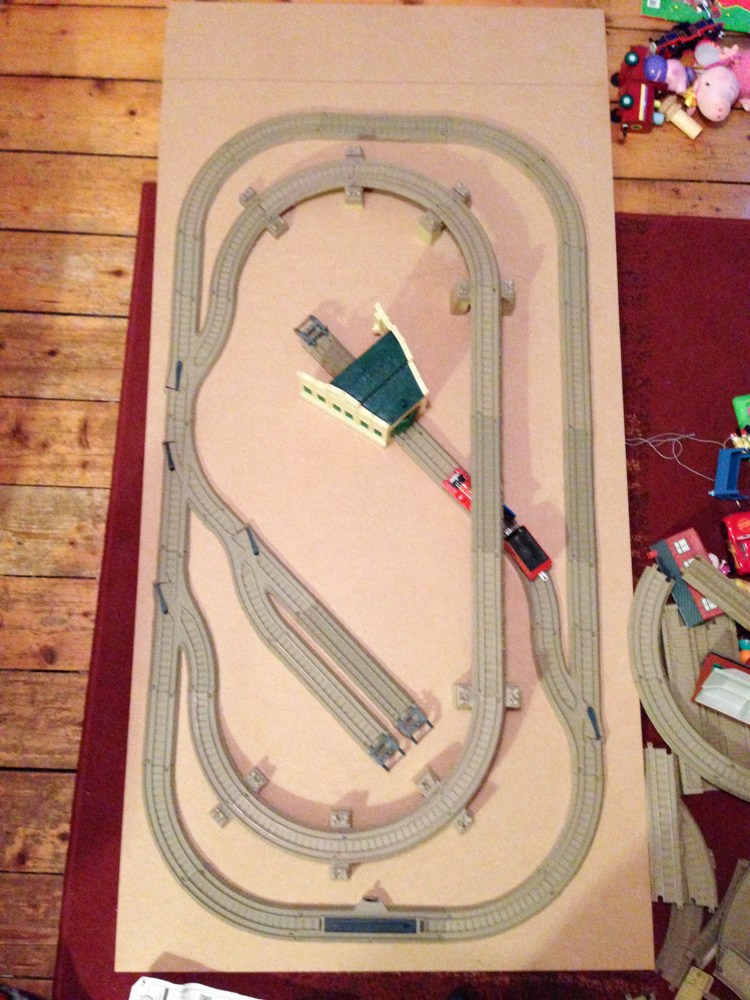
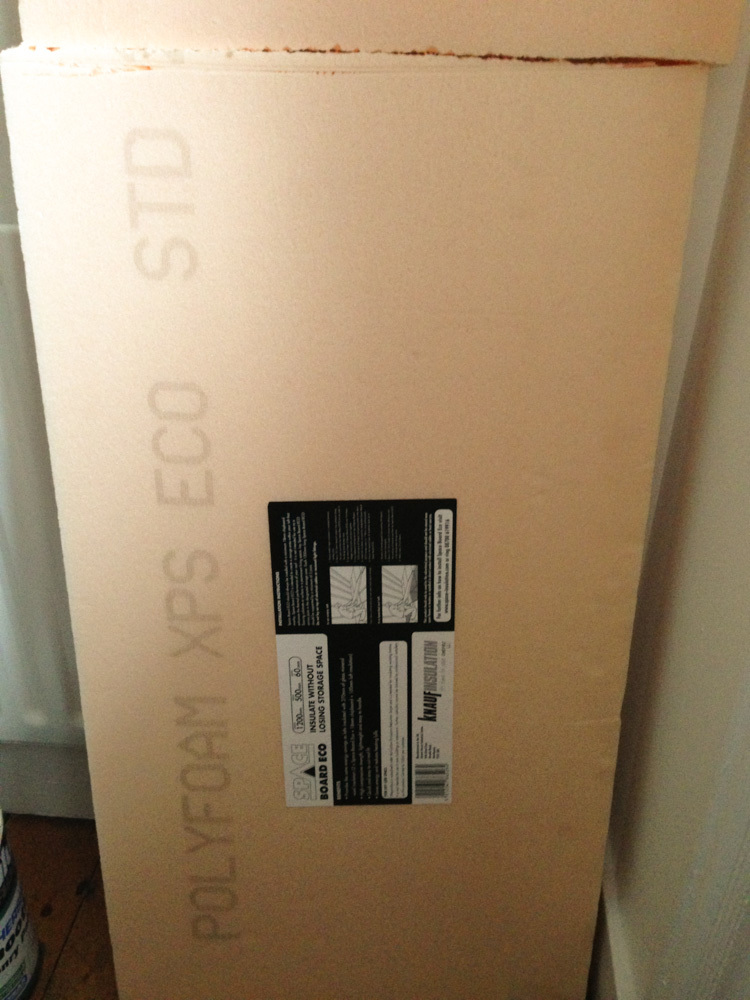
When the board arrived we started playing around with different layouts, trying to make it interesting given the space available. Once that was done I spent a bit of time researching how to make hills for a model railway. The consensus on various forums and Youtube seemed to suggest foam insulation board was a easy material to work with, so off to Wickes to buy a suitable bit of foam I went. The next step was pretty simple, I just hacked off cunks of the foam board and roughly shaped them to look like hills building up to the bridge bit of the track.
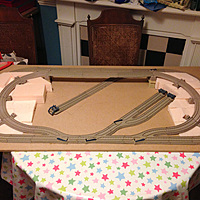
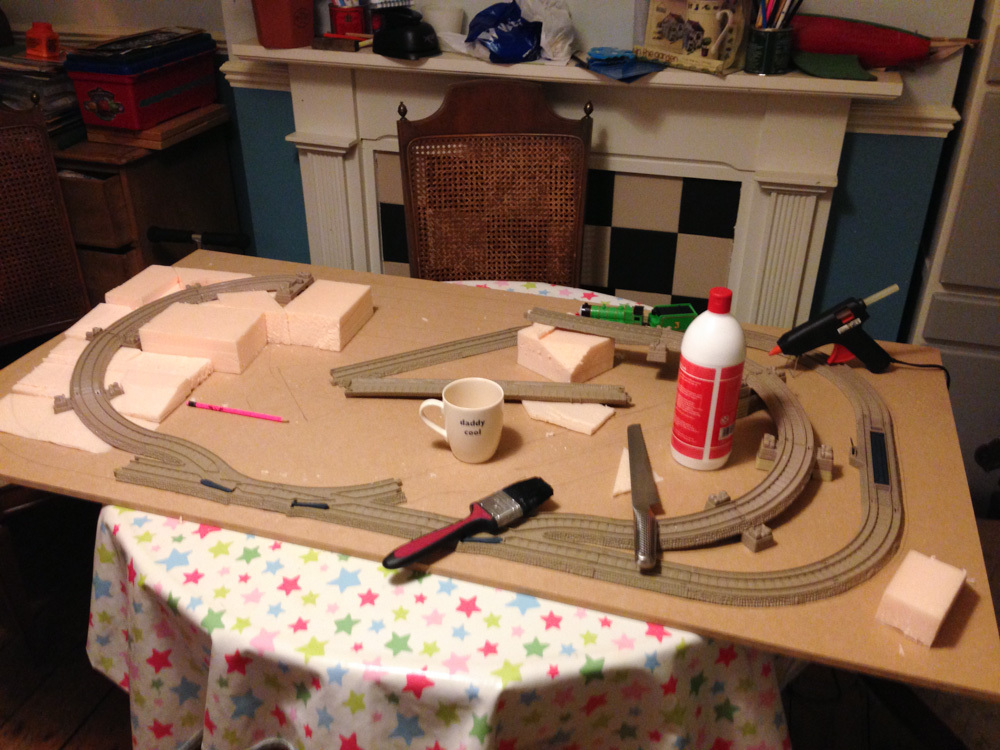
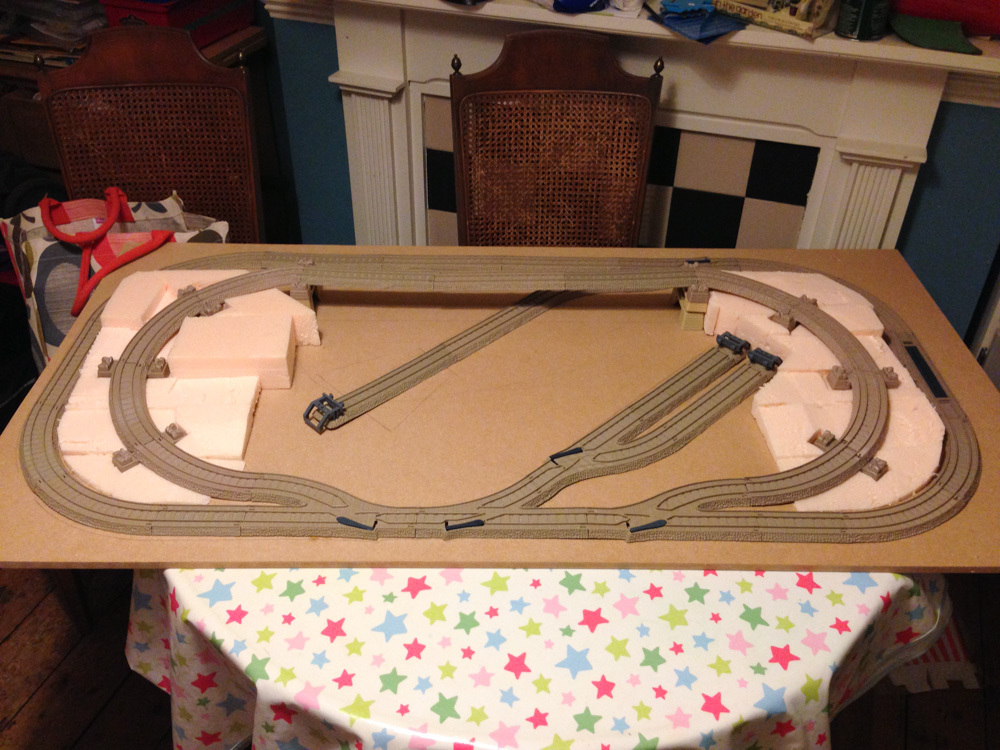
The pic above shows the majority of the foam in place, just need to work out the bit across the middle where the bridge section is and then crack on and carve it to shape to look like a hill. All the foam is being held in place with hot glue from a handy gun I had kicking around.
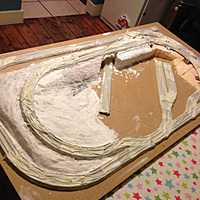
After the carving was finished I took the opportunity to glue everything down with more hot glue. The track and foam are all now safe from the little hands of the sister! Next I ripped up a newspaper and mixed up a bucket of plaster of paris. The strips were dipped into the plaster and then applied to the foam, trying to give it a nice contour and look like a hill as I went.
After all this had dried for a couple of days, I gave everything a couple of coats of mat white emulsion. I have to admit at this point I was tempted to call it a snow scene and declare it finished.
I found a model railway shop over in Leyton where I picked up some bags of green ground cover and some gravel, the friendly chap there giving me guidance as to how to apply it and to make sure it stays in position. Before starting with the grass, I painted the hills in mat brown emulsion and the flat area around the sidings in grey. Once that had dried, watered down PVA (about 50/50) was brushed on and then the ground cover sprinkled over the top. The same was done for the gravel effect areas. After all that had dried I sprayed a couple of thick layers of lacquer over the whole thing. Job done, toddler seems to like it, sis can’t pull it apart anymore and its easy to pack away at the end of the day. All round win then! And I can get back to the Diamon Demon which is still languishing unfinished.
Gallery of build photos


Subscribe via RSS