Aerokit Sea Nymph build - part 2
Progress started off pretty quick, the laser cutting is very nice and before long you end up with the basic structure assembled.
I’ve only taken the odd picture while going along, but you’ll get the idea.
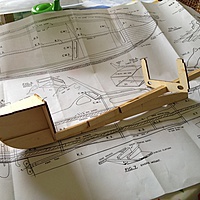
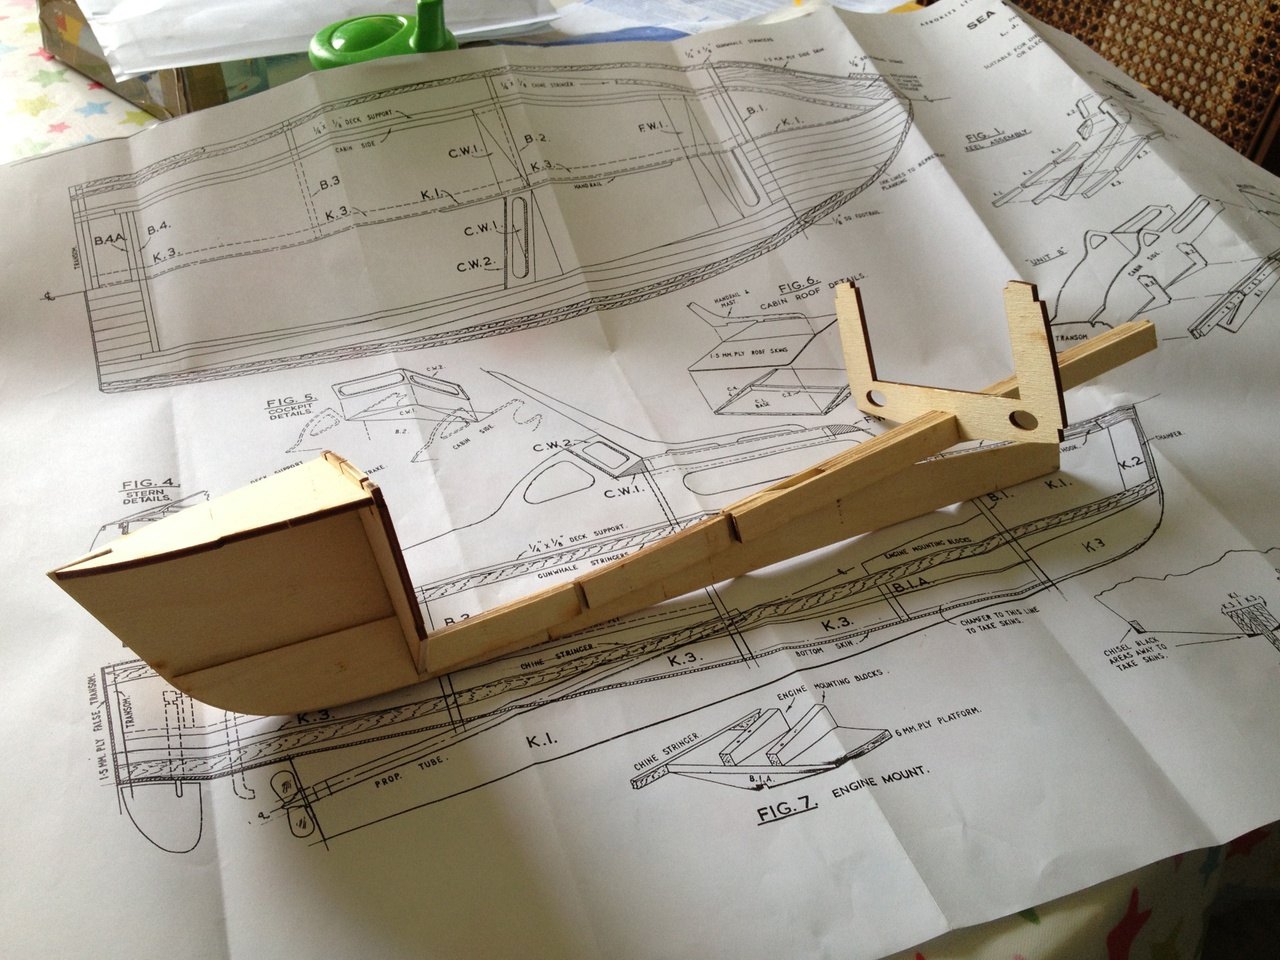
First up is the keel, you can see the front and rear formers have been attached in this shot, as has the breasthook.
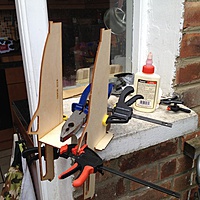
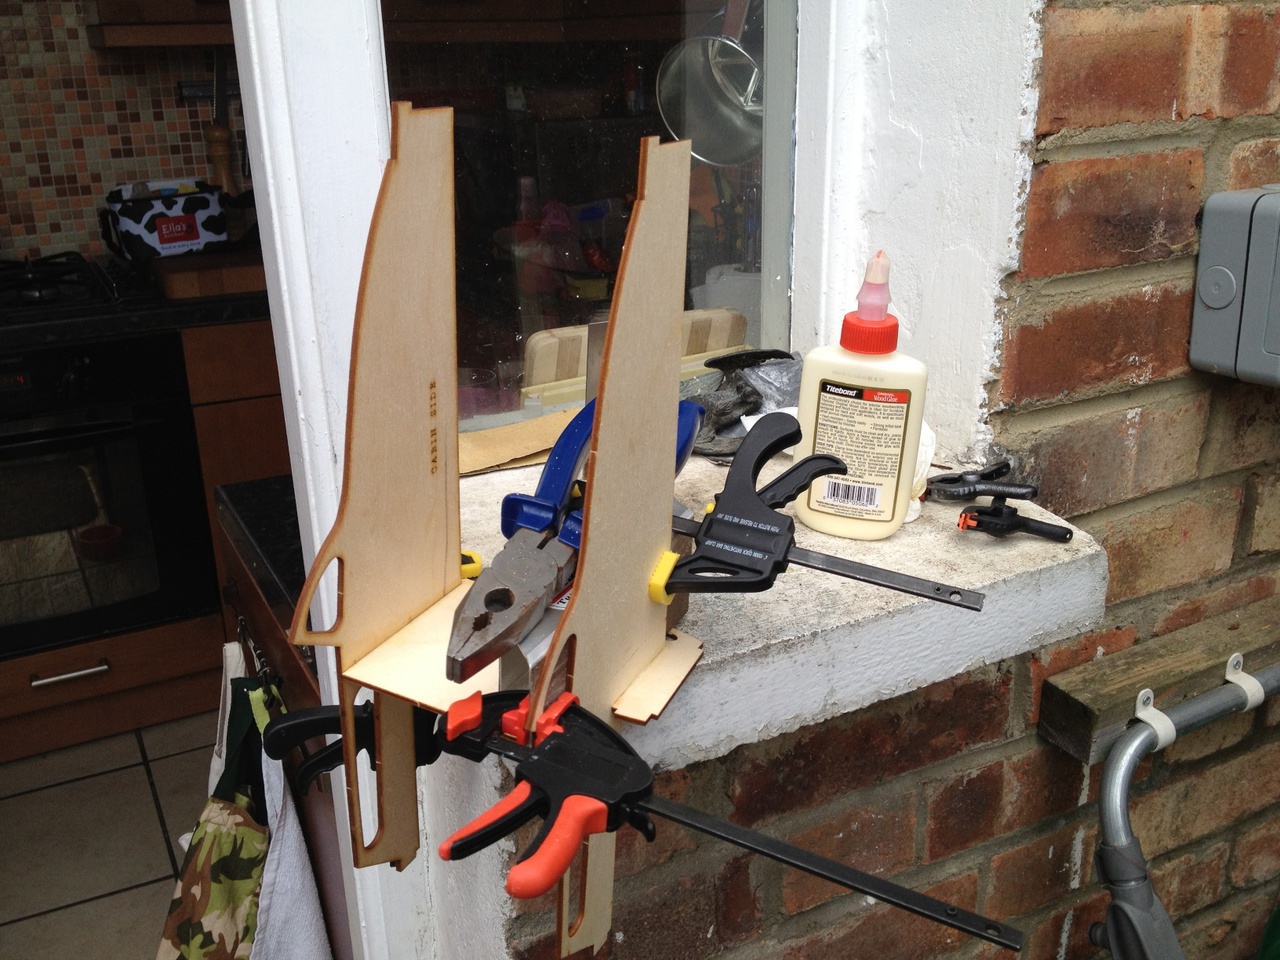
Now this may look like some crazy goings on but trust me, it is all square. I’ve no real building area at home so I have to improvise. The window sill is at a slant, but the two cabin sides are perpendicular to the former and it is all clamped up so it stayed that way!
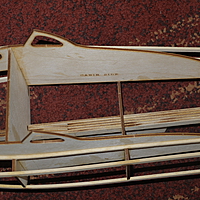
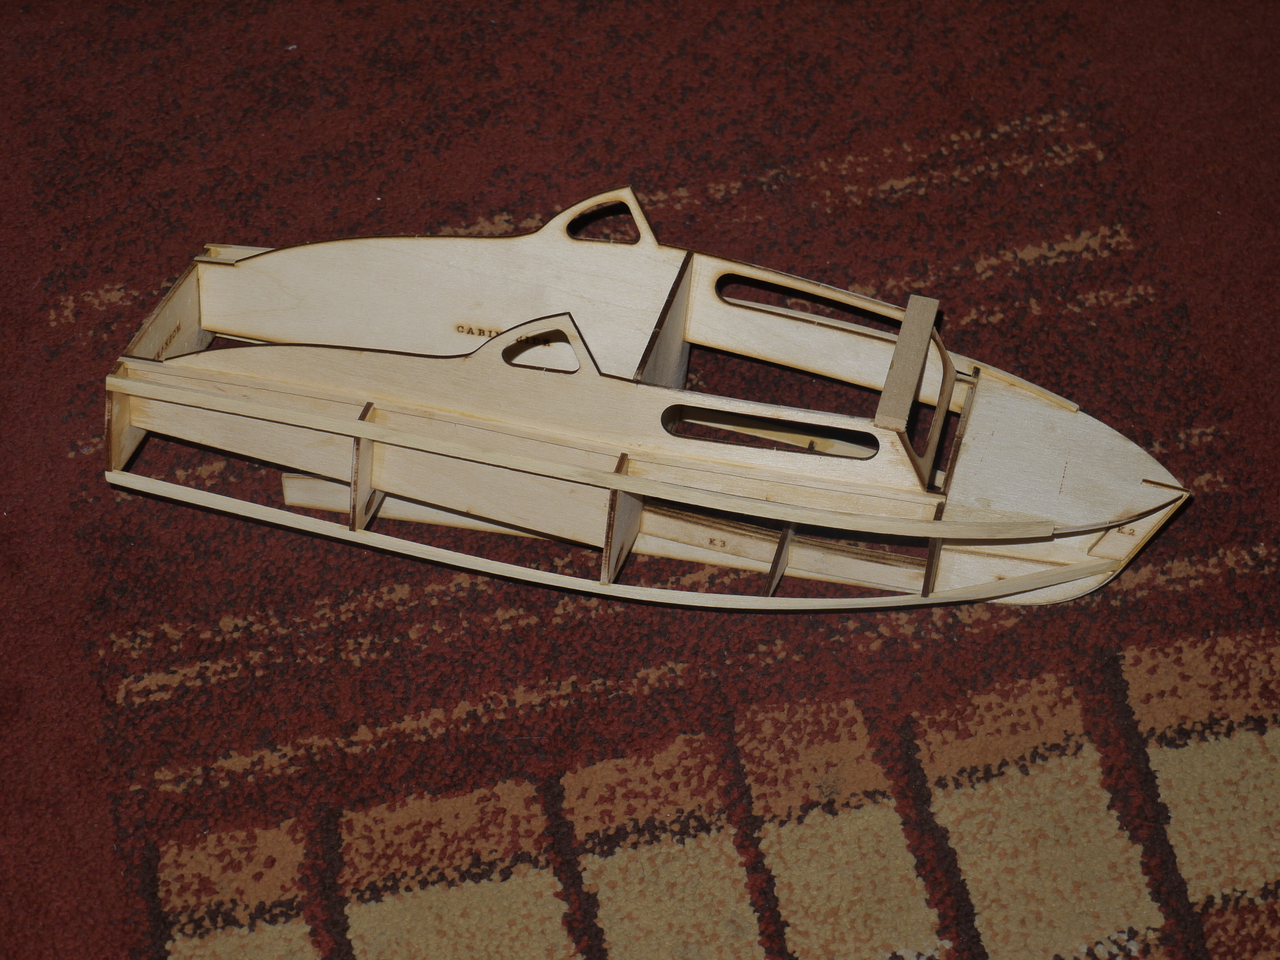
This is where I’m at right now, main structure built. I’m currently fiddling with the angled windows above the cabin roof which I’ve not yet satisfied myself I understand, more head scratching!
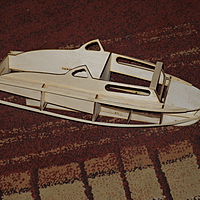
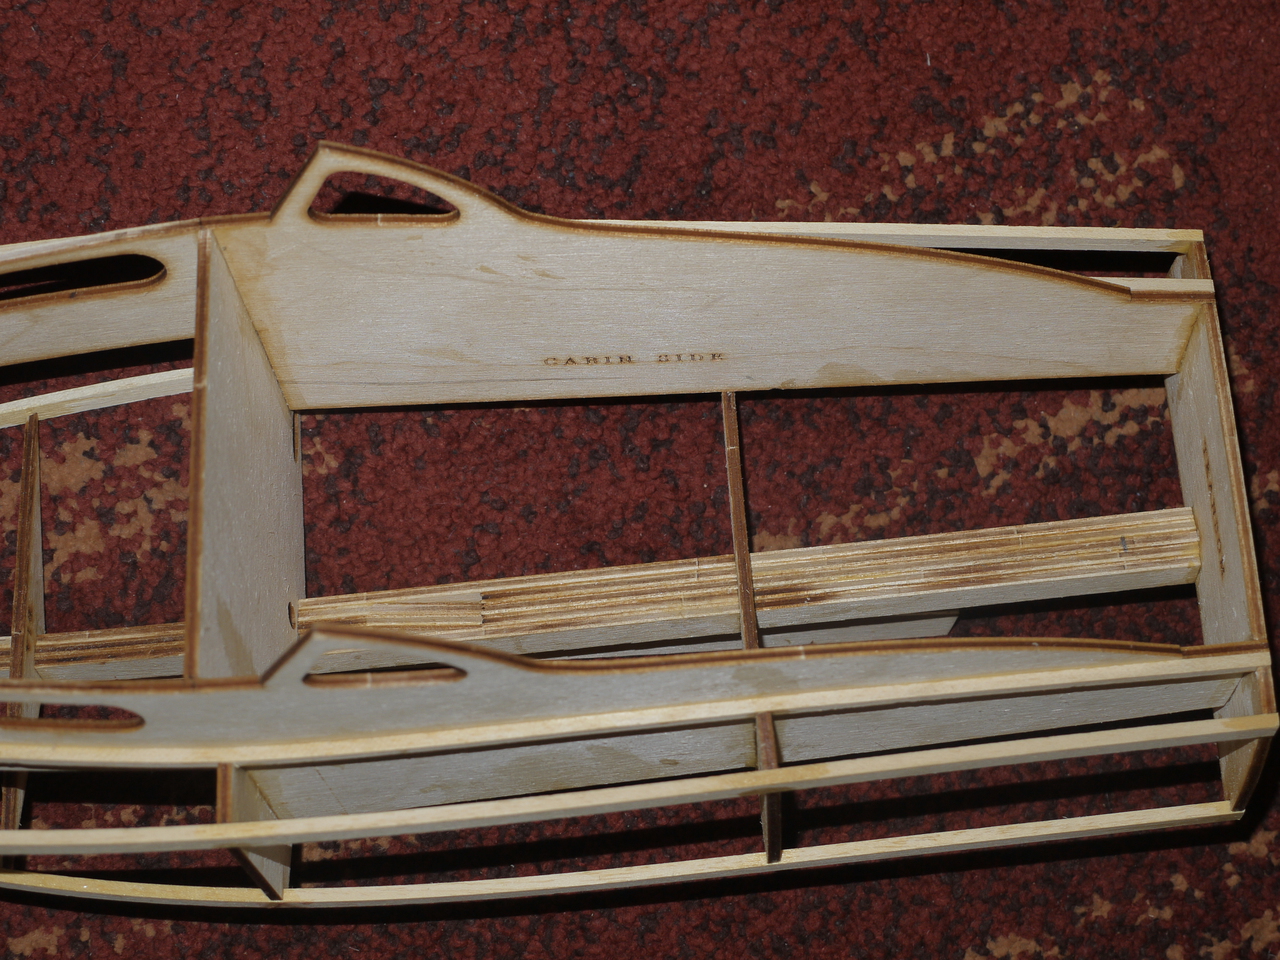
The rear cabin area is something which is troubling me at the moment. The floor originally was quite low, but I think I need to raise it sufficiently to hide my NiMH under it, I’m just worried that might be too high to look good. I’m also wondering where to put the rudder servo. I dont much want to raise the floor enough to have it under it, so I think maybe build a box at the back and decorate it as a seat.
You can read through all the posts about the Sea Nymph build here.
Subscribe via RSS